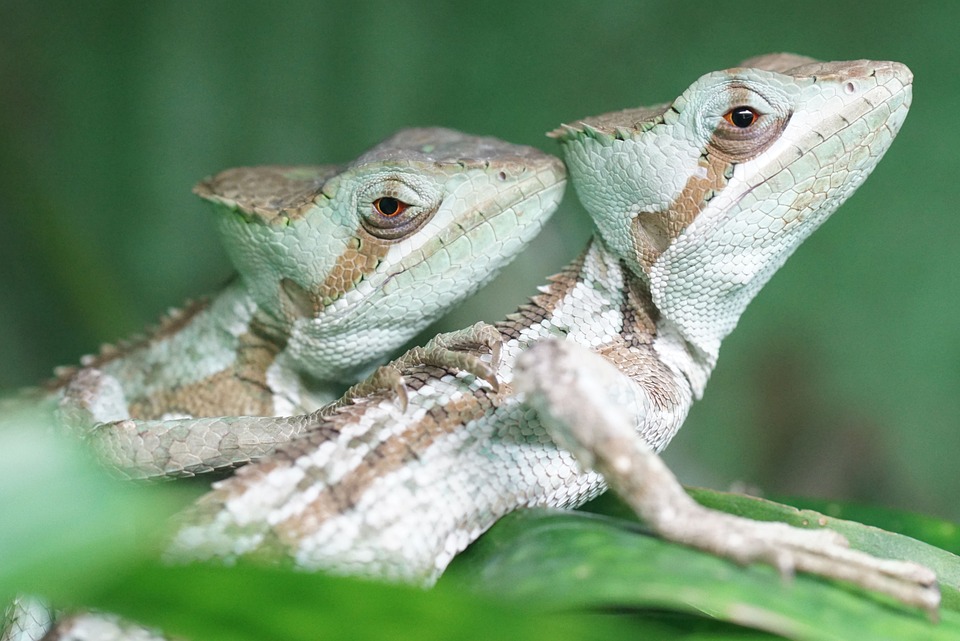
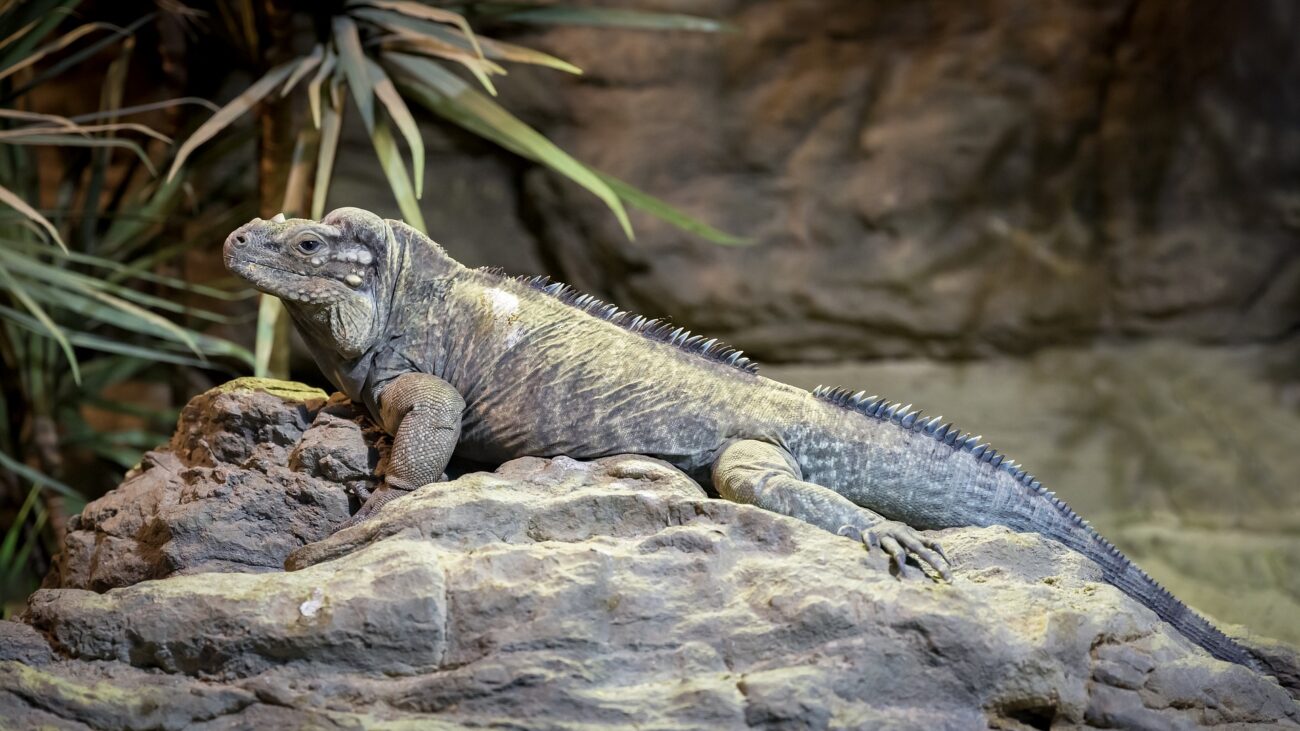
Now that the technology has been installed, our paludarium is finally ready to breathe life into it and create the jungle! The first thing we start with is the soil structure. After all, the soil is crucial for the ‘soil police’ and, of course, the plants.
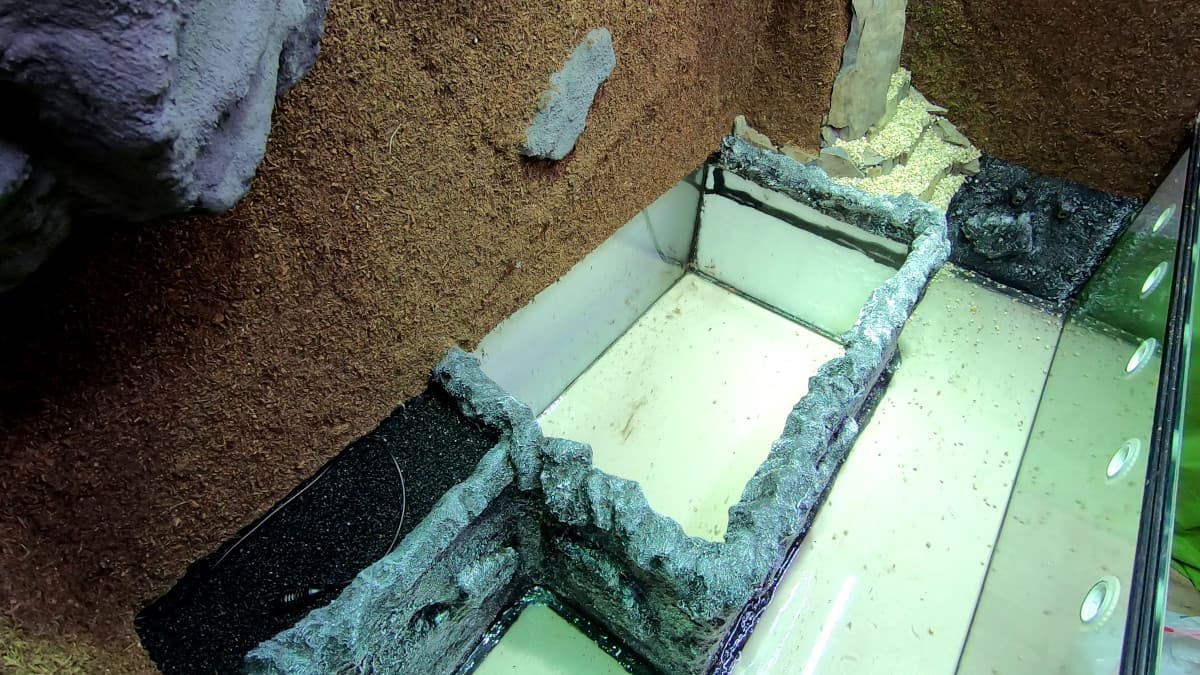
We had created the following conditions for the floor section: To prevent aquarium water from flowing or seeping into the paludarium floor, we had our glazier glue a glass box into the paludarium. And we are now building the base in this glass box. We do this first because dirt inevitably gets into the aquarium section during the ‘earthworks’. If we already had the water in here, it would be much more difficult to clean up afterwards. That’s why we finish the soil part first and then the aquarium part.
This article is part of a series. Here is an overview of all episodes published so far:
☛ A rainforest in the living room: building a paludarium
☛ Building a paludarium, part 2: The base structure
☛ Building a paludarium, part 3: Equipment and interior design
☛ Building a paludarium, part 4: The technology for the rainforest
☛ Building a paludarium, part 5: Creating a jungle
☛ One Year Later: the Paludarium With Casquehead Iguanas
Ground construction
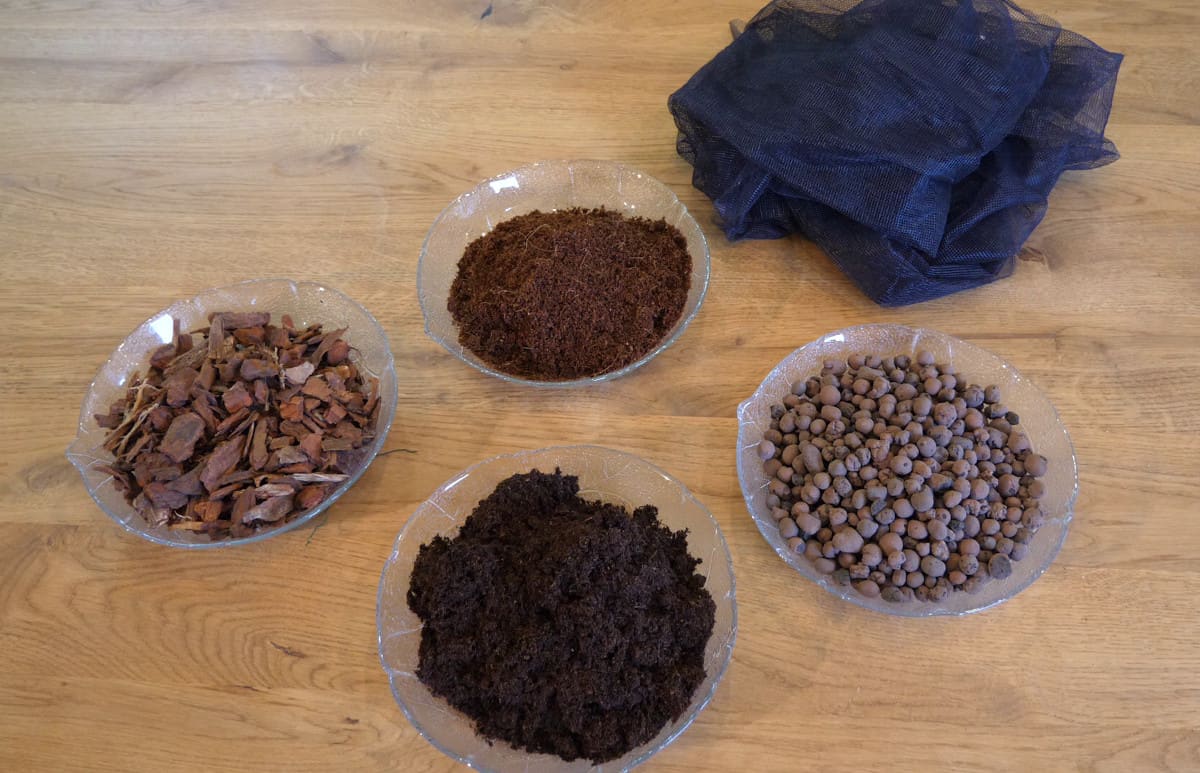
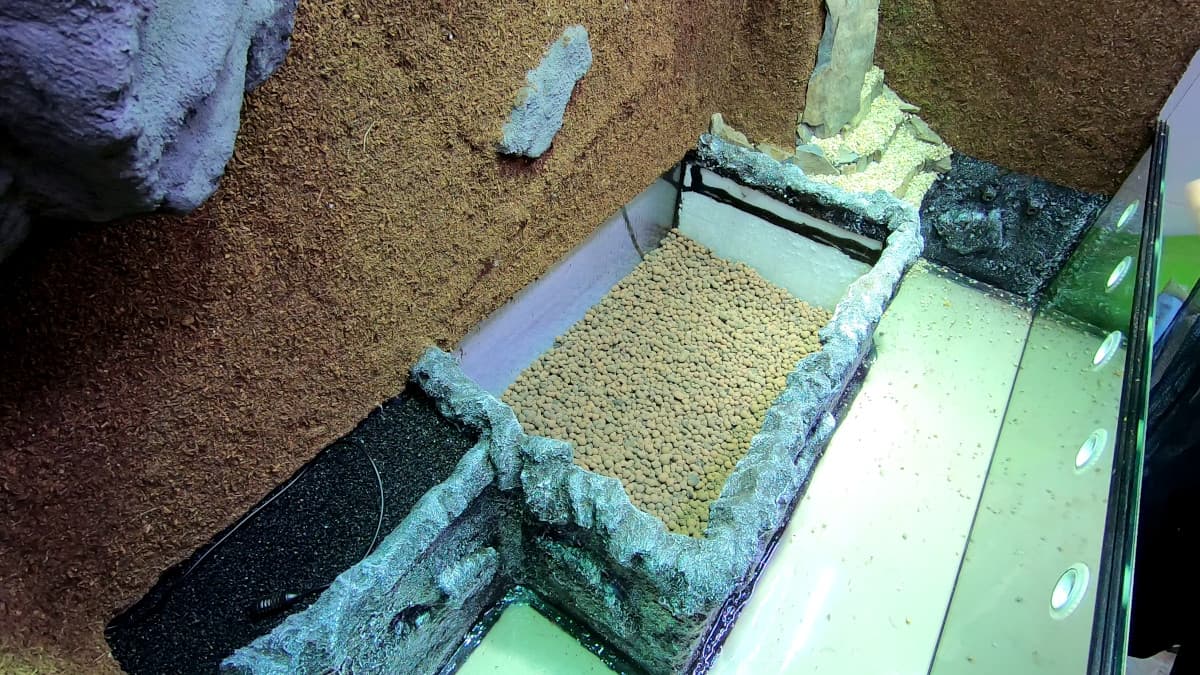
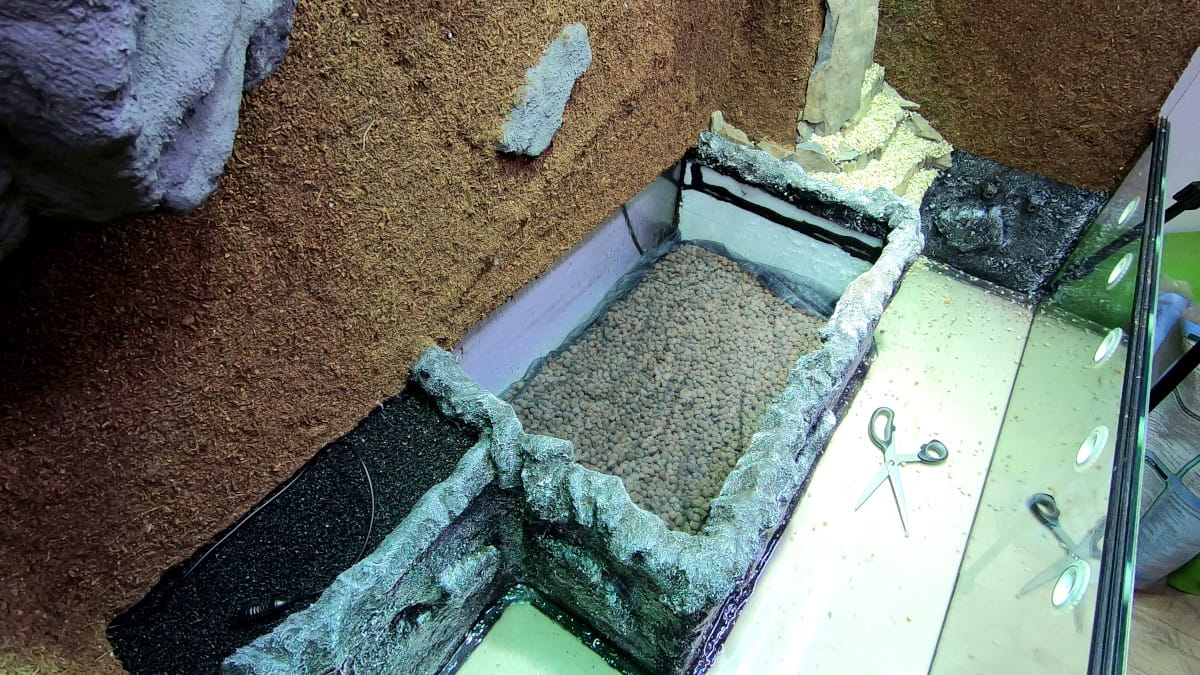
For the soil, we first add a drainage layer of clay granulate (‘Seramis’) to the glass base of the soil box. Excess water from the irrigation system or from watering can collect in this later. This protects the soil from becoming over-wet and possibly rotting or mouldy. This layer should therefore not be too thin – you can see in the video that I have created a generous drainage layer here.
A fine plastic net is placed over the clay granulate to prevent this drainage layer from compacting over time as the soil trickles in and destroys its function. We used an old window fly net for this. But basically you can use anything that is fine-meshed enough to allow the water to pass through easily, but which does not soak up water itself and does not allow soil to pass through.
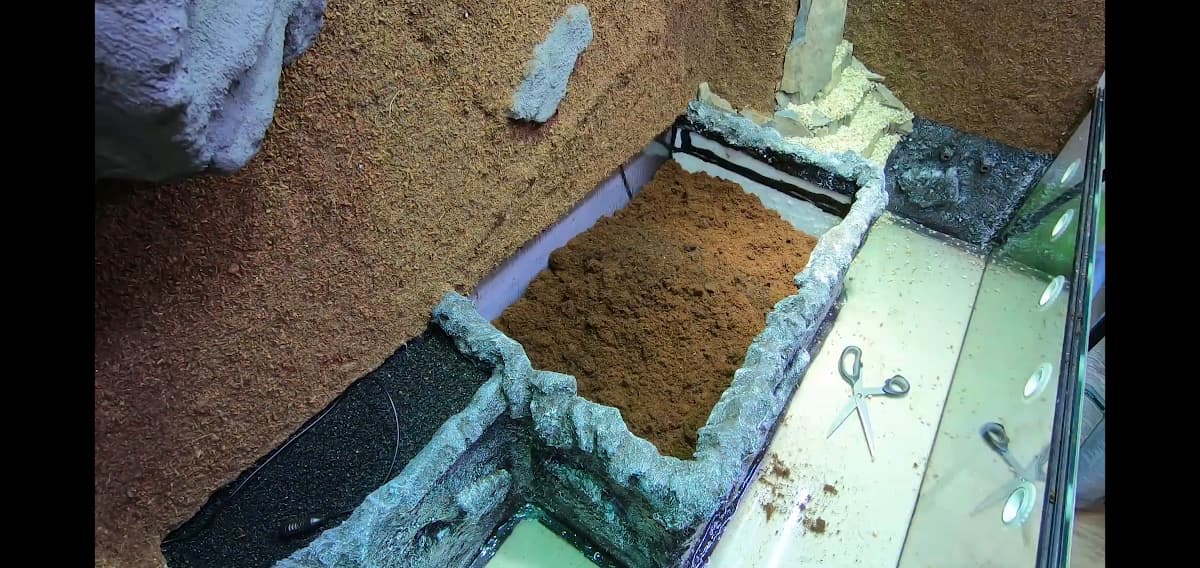
We now add the actual soil to this net. I used a mixture of peat and coco humus for this. The coco humus is the remains of the back wall, i.e. the fine particles that we had sieved off – a perfect way to utilise leftovers!
I mixed the peat and coco humus well and then layered them in the soil box on top of the drainage layer.
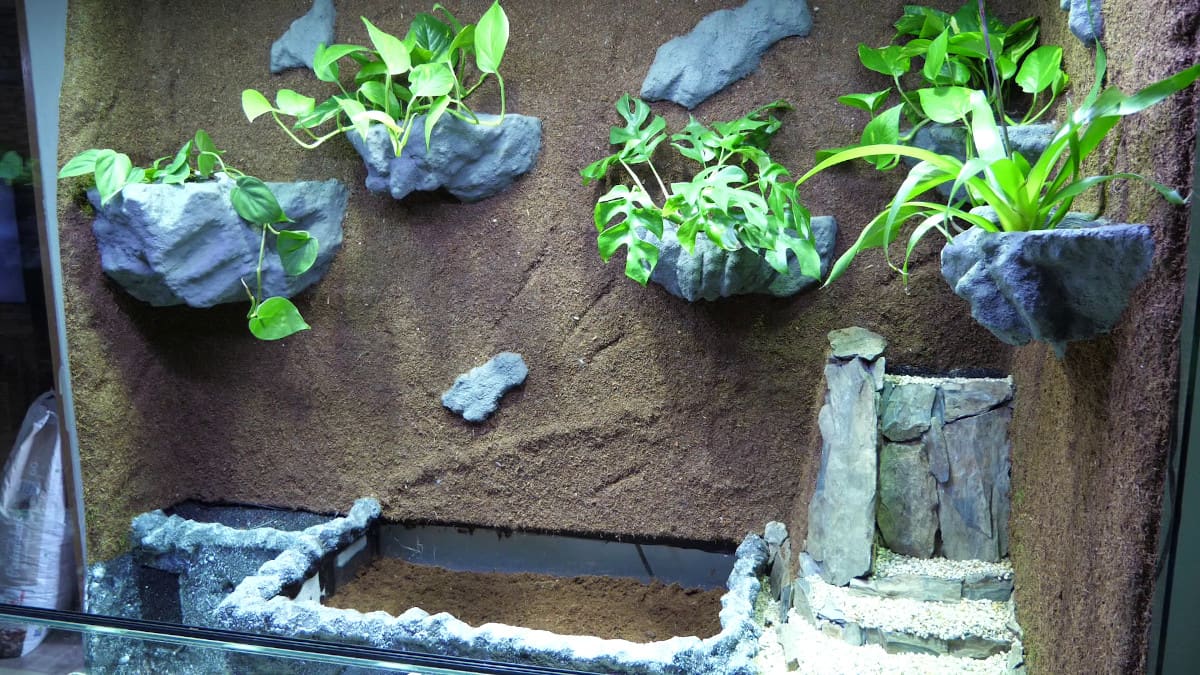
However, I didn’t fill up the entire box, but left enough space to be able to insert the soil plants:
Now it’s time to go green!
Then we were finally able to put the plants in! We bought our plants from various sources: I always like to buy larger plants from local pet shops. I also like to order smaller plants like bromeliads online.
We have now added the plants one by one and proceeded as follows: The climbing plants went into the pots on the back wall and I planted the ground plants in the soil. I made sure to plant the larger plants towards the back and the smaller ones towards the front so that all the plants are optimally visible and get enough light.
Once the plants were planted, I put in the climbing branches and the cork tube. After all, our crown basilisks want to be able to climb and should also be able to present themselves nicely on the branches! For the branches, we opted for cork branches. They tolerate the humid climate very well and don’t mould.
I positioned the branches in a way that I liked visually and attached them to the top of the glass part of the cover using extra strong suction cups (as with the LED SunStrip 35) and 1 mm nylon thread. I also screwed the large branches together so that they are stable.
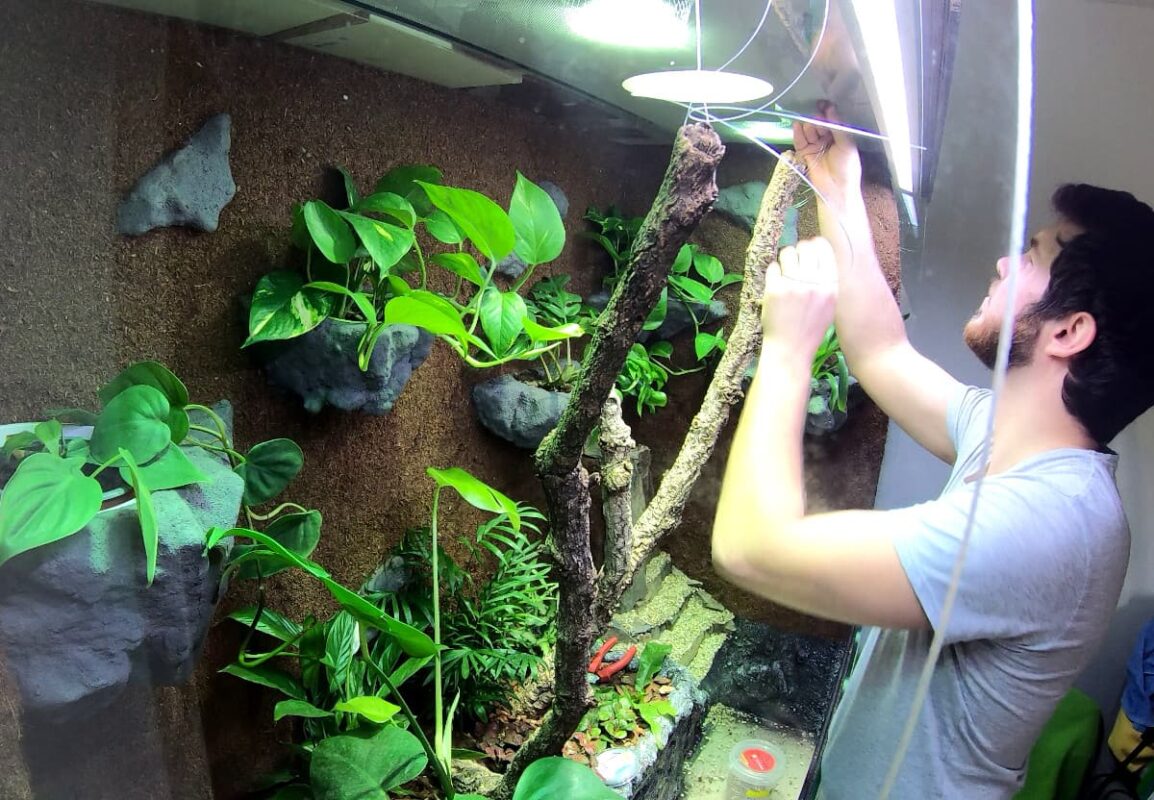
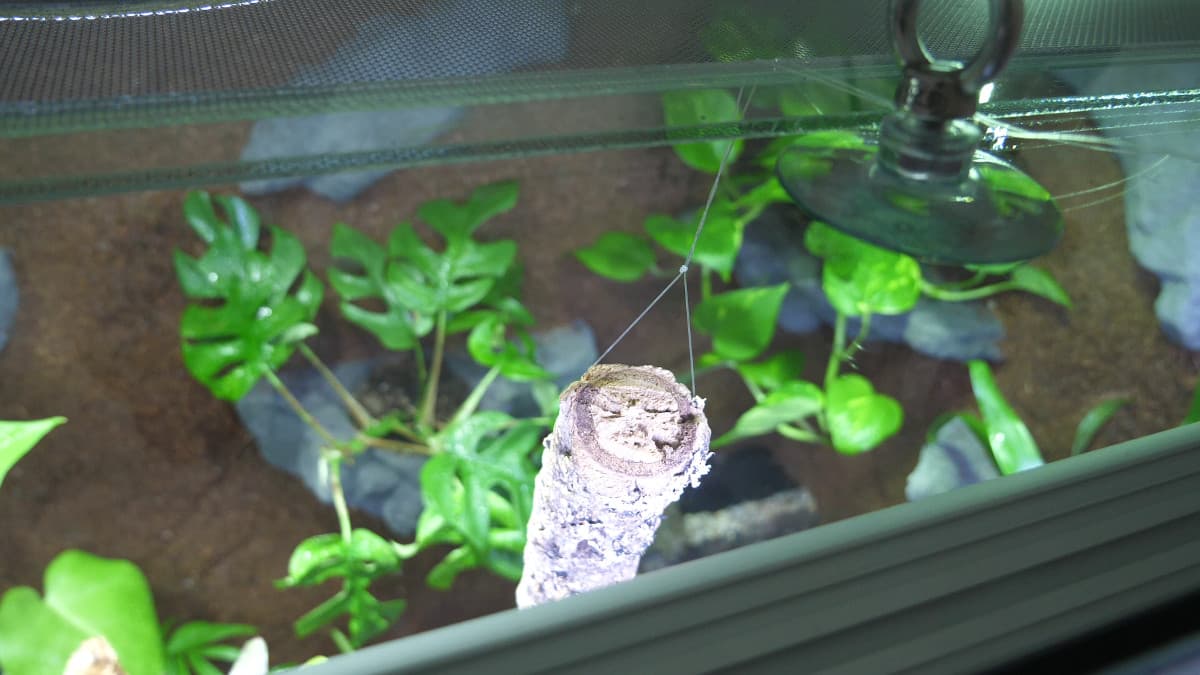
Finally, I used the same nylon thread to tie the bromeliads to the cork branches and covered their roots with moss.

Tips:
If you also want to use amphibians in your paludarium, it is better not to collect the moss yourself. In many areas of Germany, chydrid fungi (Batrachochytrium dendrobatidis (Bd) and Batrachochytrium salamandrivorans (Bsal), which are deadly to amphibians, are already found in the wild. You could introduce this dangerous droplet fungus with collected moss! It is therefore safer to get cultivated moss, especially in Bd/Bsal areas. Also observe any nature conservation regulations when collecting moss in the countryside.
Once all the plants had found their position, I filled in the remaining gaps with the soil mixture. And finally, pine bark was added as the last layer on top of the soil.
Self-cleaning thanks to ‘ground police’
As soon as the rainforest terrarium is inhabited, rubbish accumulates. Be it food scraps, faeces or even organic waste – all of this would inevitably cause mould spots at some point. To prevent this from happening, the ‘floor police’ now enter the terrarium. I use tropical white woodlice (Trichorhina tomentosa) in all my paludariums and terrariums for this purpose.
You can actually buy these small beneficial insects wherever there are pet supplies. They ensure that plants and food scraps, faeces or even mould are eaten away and the terrarium cleans itself.
You can follow all the work involved in setting up the jungle in the video:
Water on! — let’s start the aquarium
Now the jungle is finally finished and we can take care of the aquarium:
The first thing to start with is the substrate. Again, there are many different methods. I decided against a substrate and instead filled it directly with sand. I piled up more sand in the rear area where I wanted to put the aquarium plants. I then spread 3-6 mm thick natural gravel of the same colour over the sand substrate. I simply like the look of the gravel better than the fine sand.
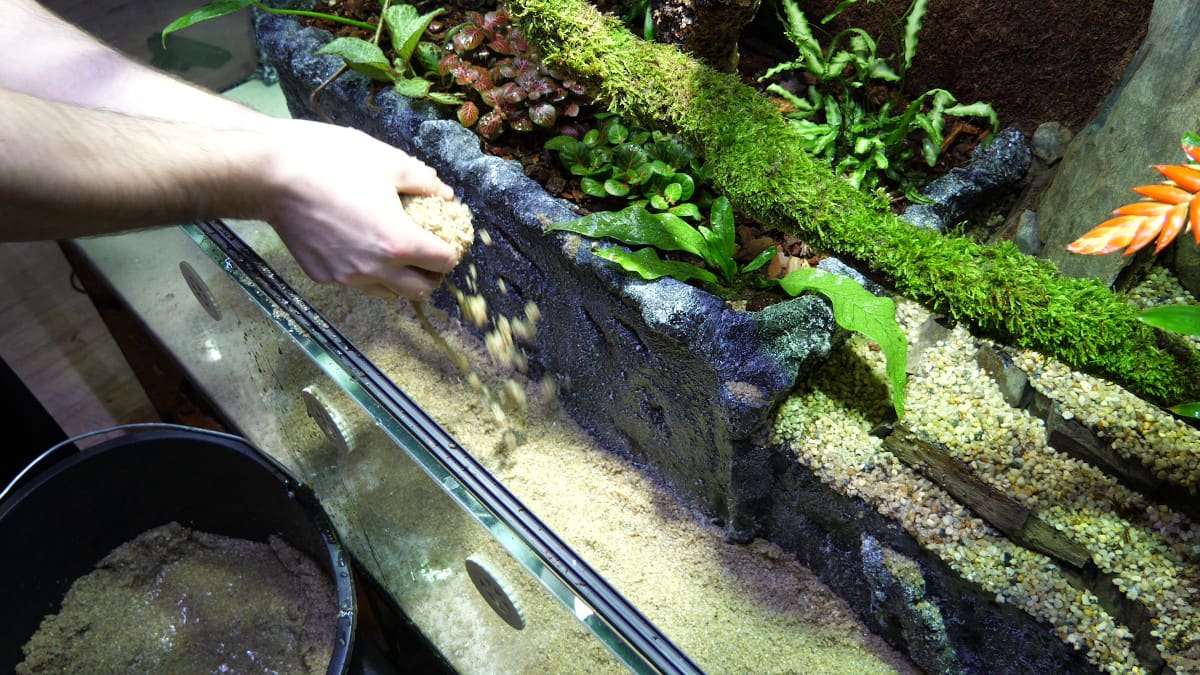
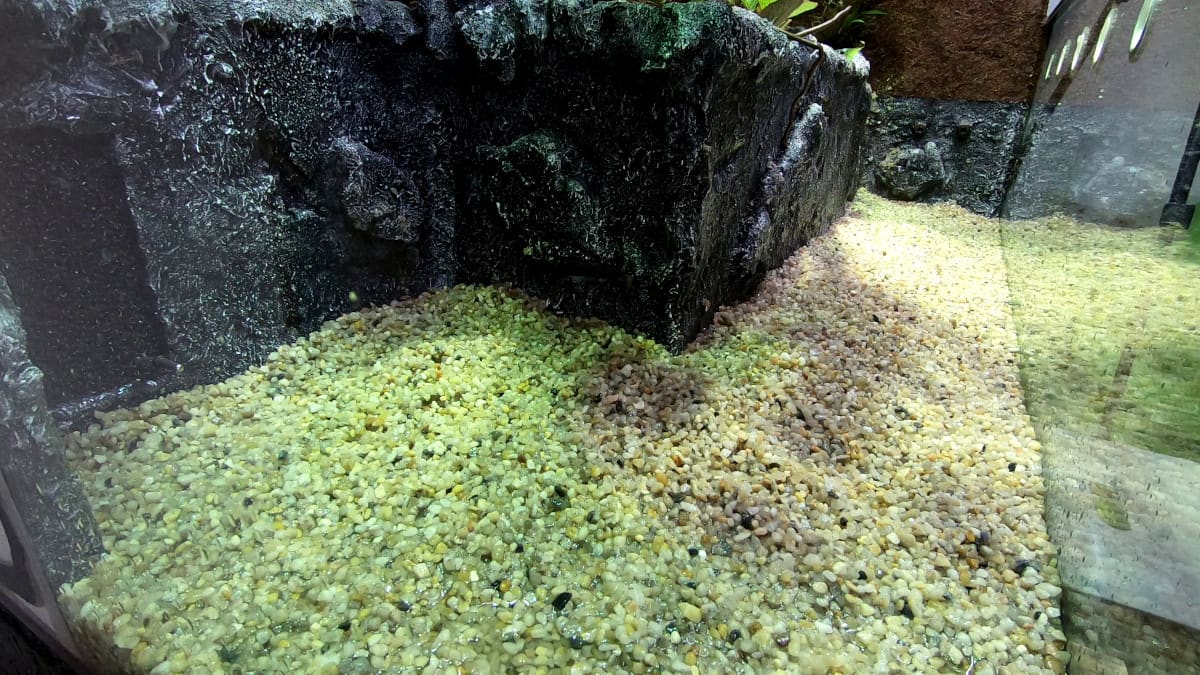
Next, I put in the roots and stones to create the foundation for the ‘layout’ of the water world of our rainforest terrarium. You can basically let your imagination run wild here. There are lots of different roots and stones to buy and everyone can create their own aquarium layout to suit their own taste.
And finally — after creating the ‘hard-scape’, I was also able to put in the aquarium plants. As in the upper terrarium zone, I also put the larger plants in the aquatic zone at the back. Sword plants and giant hair vixens are now growing there. The smaller aquatic plants, e.g. ground cover plants such as dwarf sword plant, were placed in the front area. The pennywort is a speciality for me because it is supposed to grow upwards over the waterfall…
Yes, and then finally it was: “Water on!”
I use pure osmosis water for filling, which I produce myself using an osmosis system in the bathroom. The reason for this is that our tap water is quite hard at 12 degrees gH, but I want to avoid ugly limescale marks.
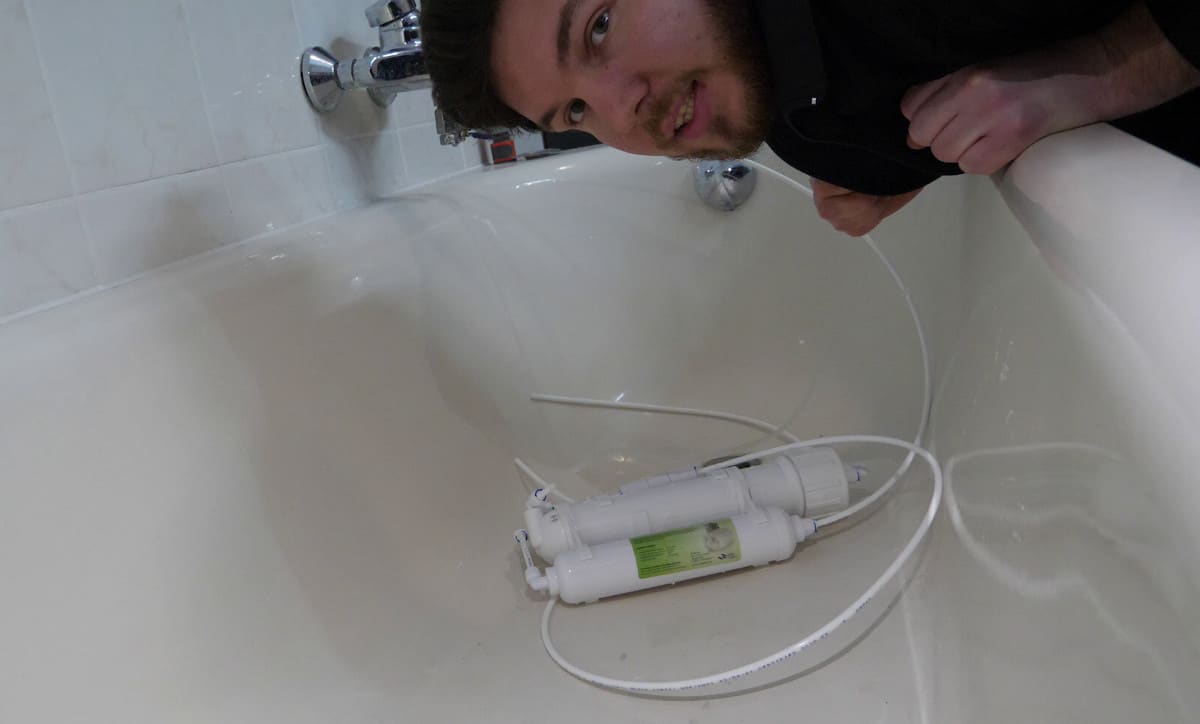
I had to bridge the waiting time until my aquarium section was full with coffee. I was really looking forward to seeing how everything would go when I was able to start the aquarium pump for the first time and see if everything worked as I thought it would… But then the time had come. And what can I say:
I myself am overwhelmed by how beautifully the Paludarium runs and how well everything works!
To what is yet to come…
The construction and installation of our paludarium is now complete. Over the next few weeks, the daily rhythm in our artificial rainforest world will get going and the plants can start to grow. The jungle is coming to life! Here I show you some impressions:
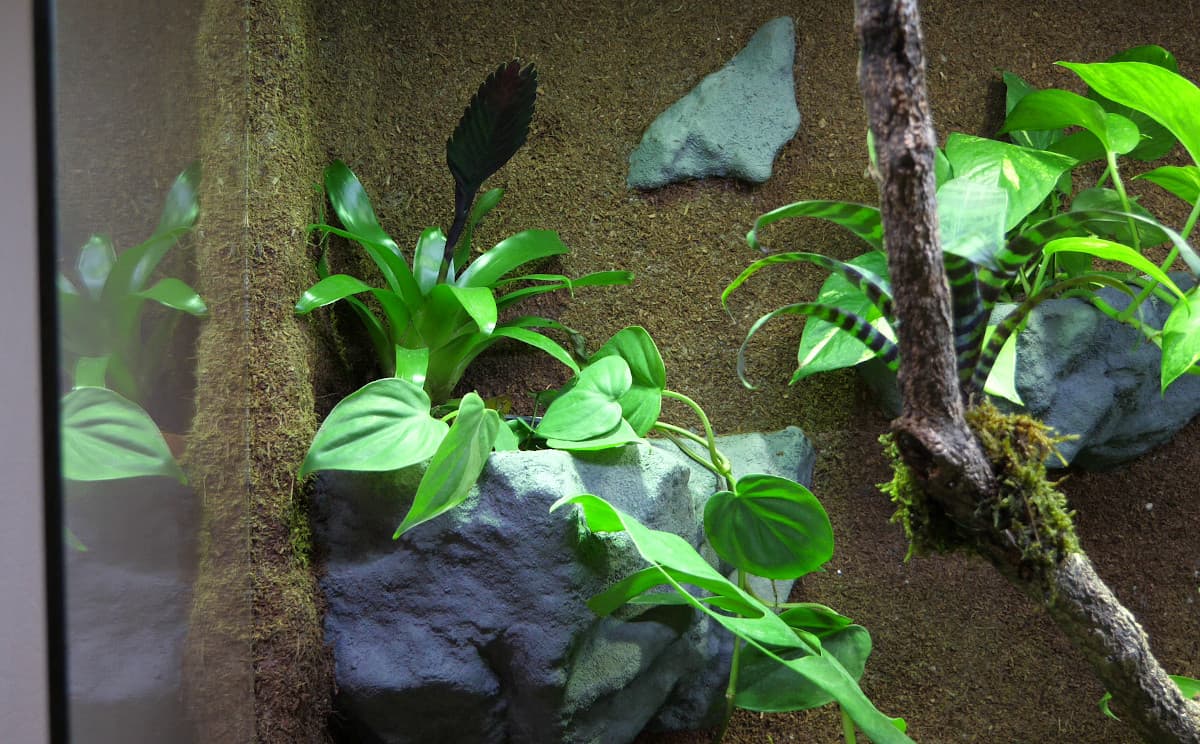
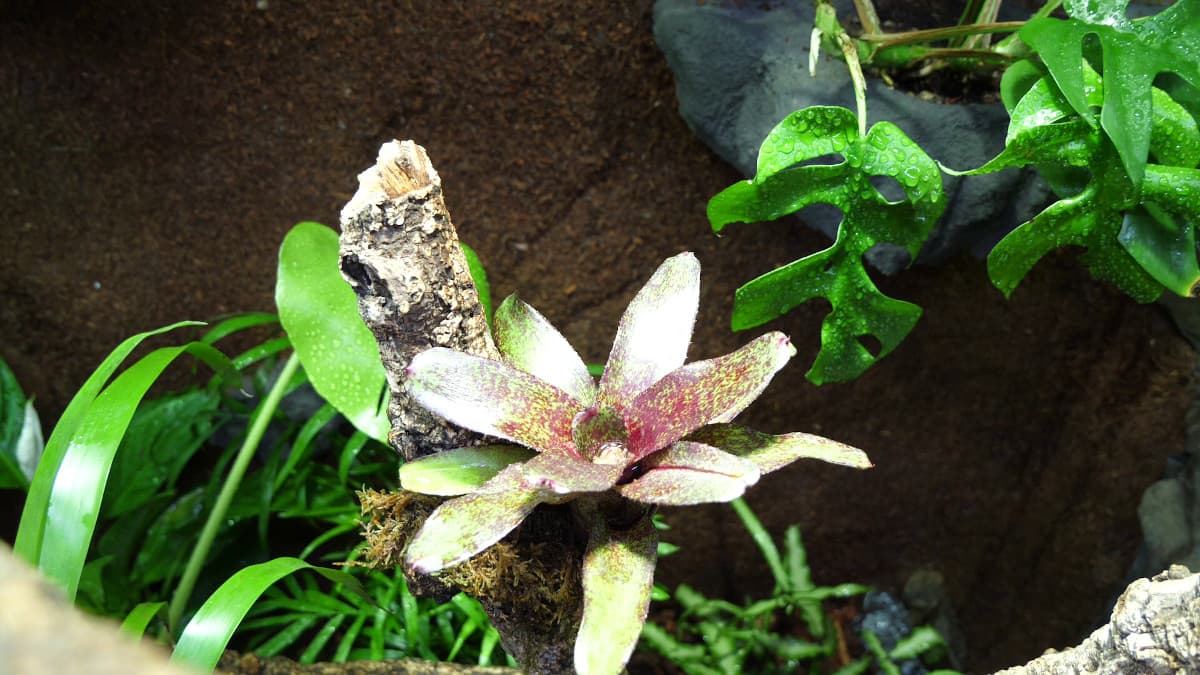
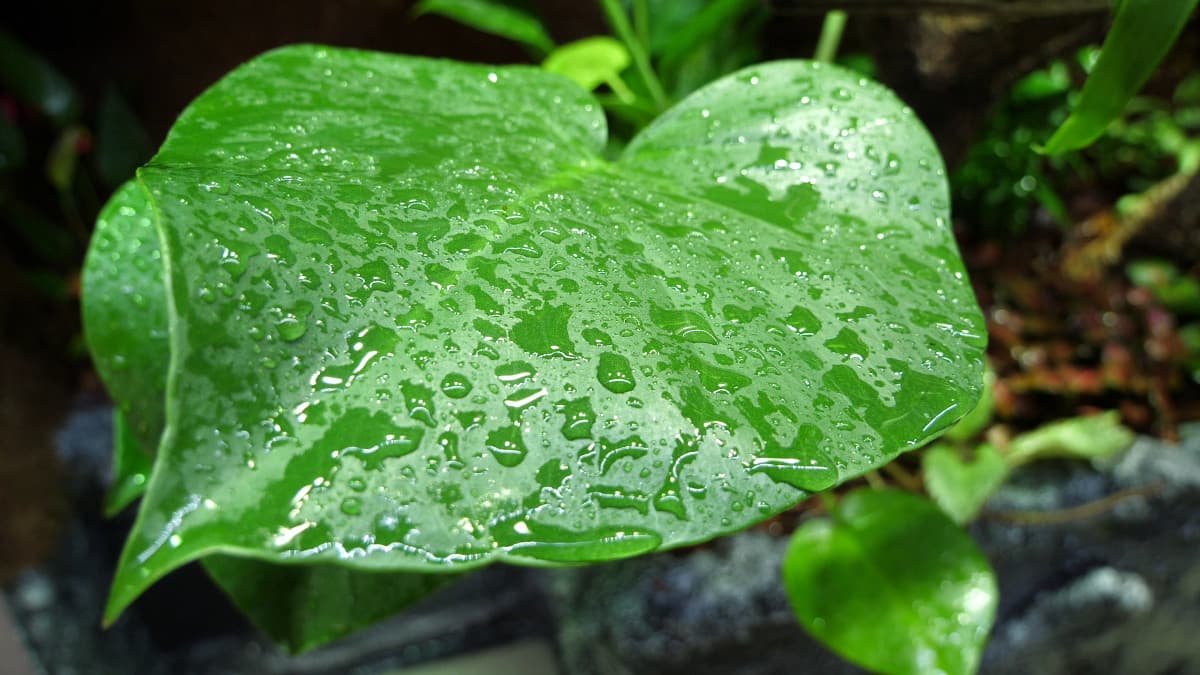
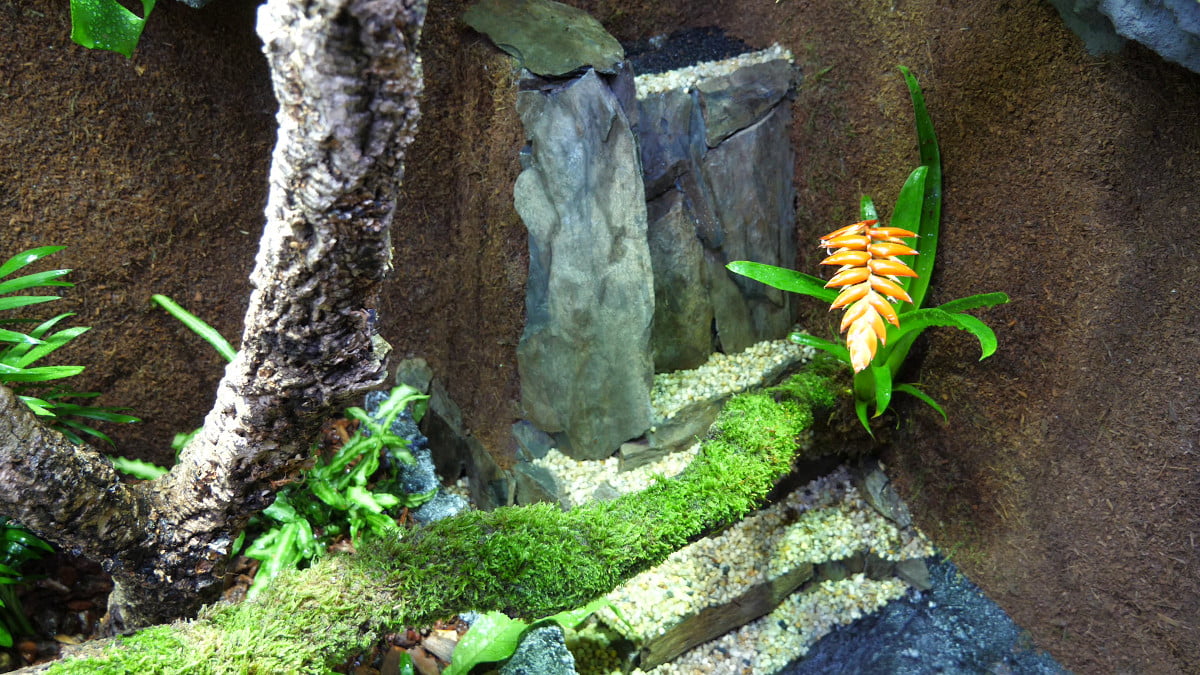
At the same time, I can take care of the animals in peace. Unfortunately, we still have to wait a few months for our main attraction. Crowned basilisks are very rare. But to our delight, three youngsters have been reserved for us by our breeder. As soon as they are ready, they can move in!
In the meantime, we are already enjoying the great sight of the paludarium, even without terrarium inhabitants. It won’t be boring anyway, because there is always something to do in the aqua-terrarium: I will gradually add more plants and, of course, the first fish can already move in.
In a few weeks’ time, I’ll tell you what I’m going to add in terms of technology and what the paludarium will look like after six months.
I was very pleased to present my build to you here and hope you enjoy building it!!!
See you then
Marc

