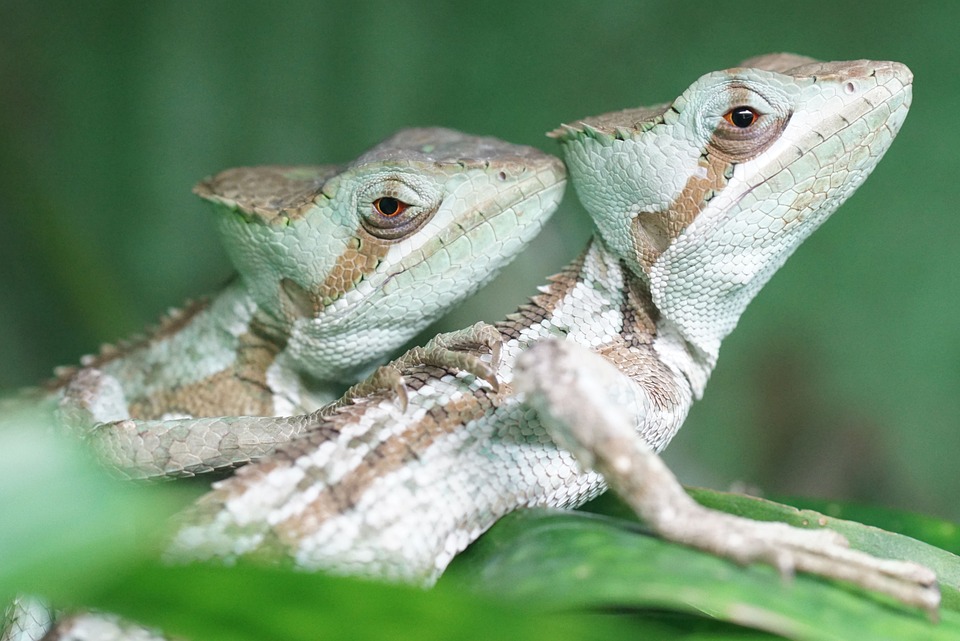
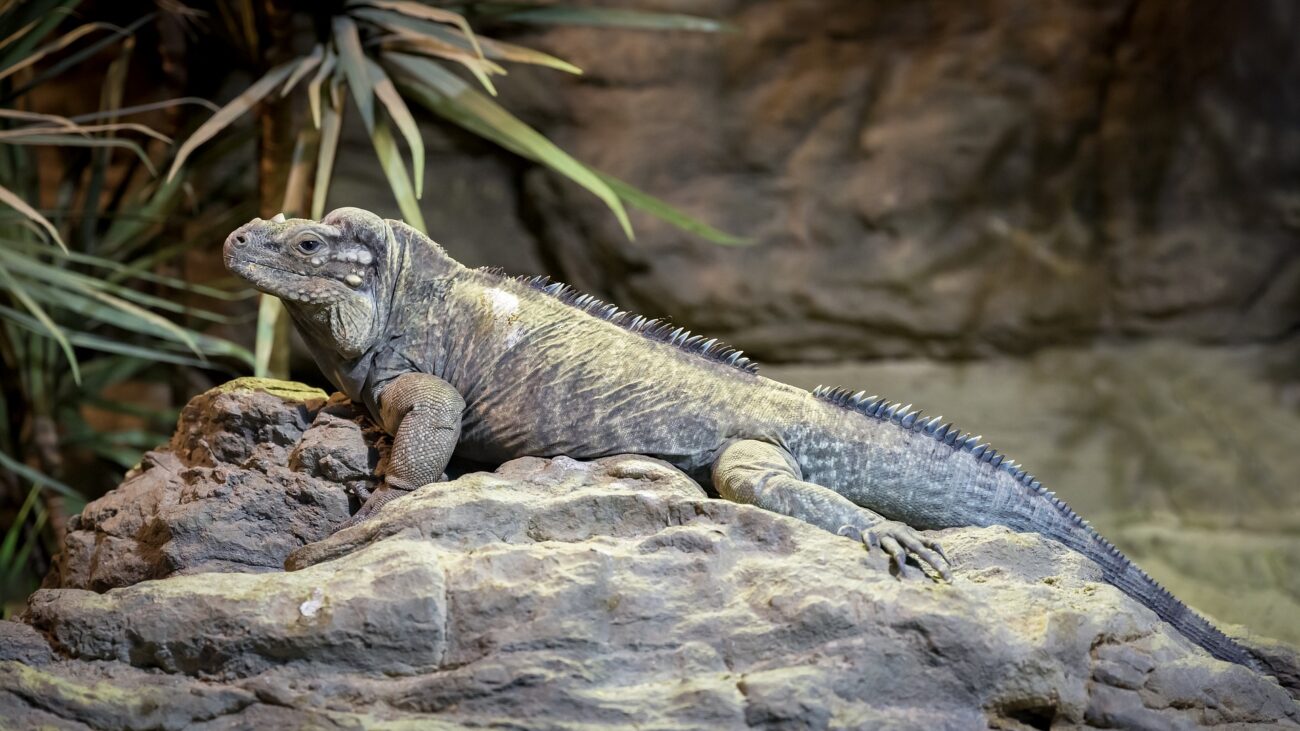
Previously, we had designed the back wall of our paludarium and directly incorporated the necessary niches in which we want to place our terrarium plants for the desired rainforest feeling. Now the next step is to lay out the plants. But first we had to install the technology! Because first we have to find out or define where we have to position the basking spots for our crowned basilisks in our terrarium… Translated with DeepL.com (free version)
This article is part of a series. Here is an overview of all episodes published so far:
☛ A rainforest in the living room: building a paludarium
☛ Building a paludarium, part 2: The base structure
☛ Building a paludarium, part 3: Equipment and interior design
☛ Building a paludarium, part 4: The technology for the rainforest
☛ Building a paludarium, part 5: Creating a jungle
☛ One Year Later: the Paludarium With Casquehead Iguanas
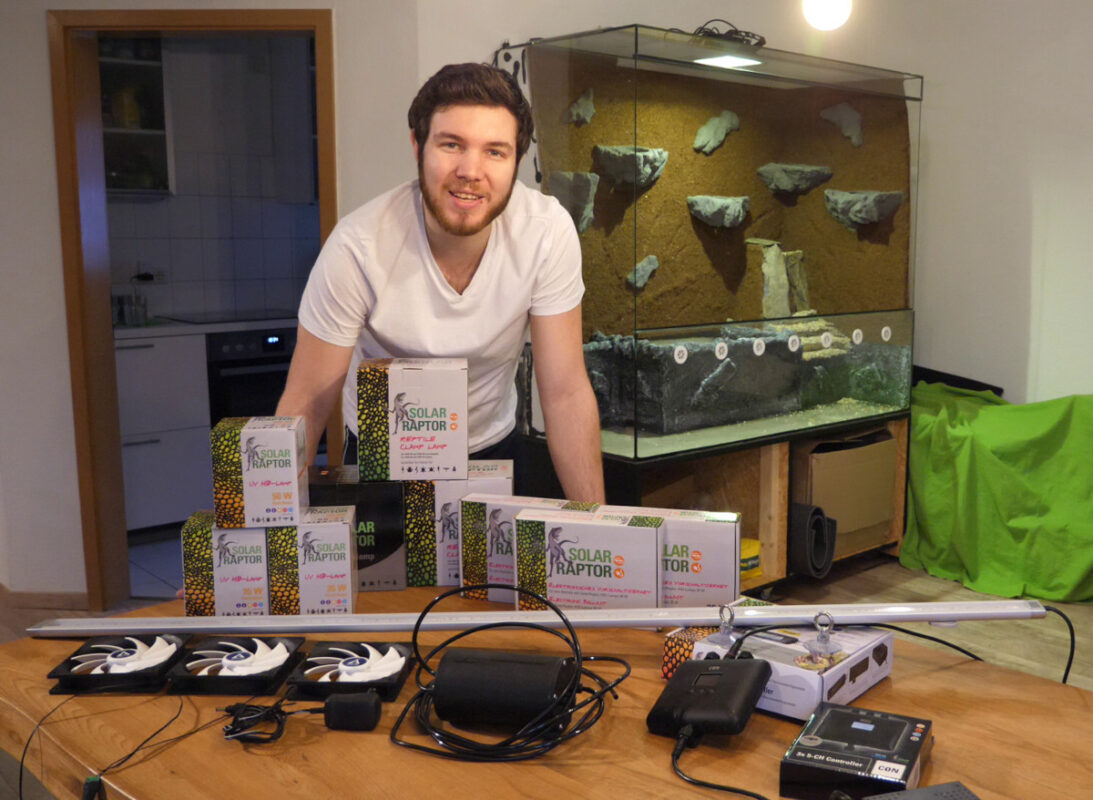
So in this episode, we’ll start by installing all the technology for our ‘rainforest in a terrarium’. And in this context, we can finally show you in detail all the nice things we have received from ECONLUX for our paludarium project!
For the lighting, I started by building a light box from veneered shelves. In the end, everything looks nice and tidy. We also covered the glass terrarium with gauze. We then installed our lamps and other terrarium technology in the self-built light box.
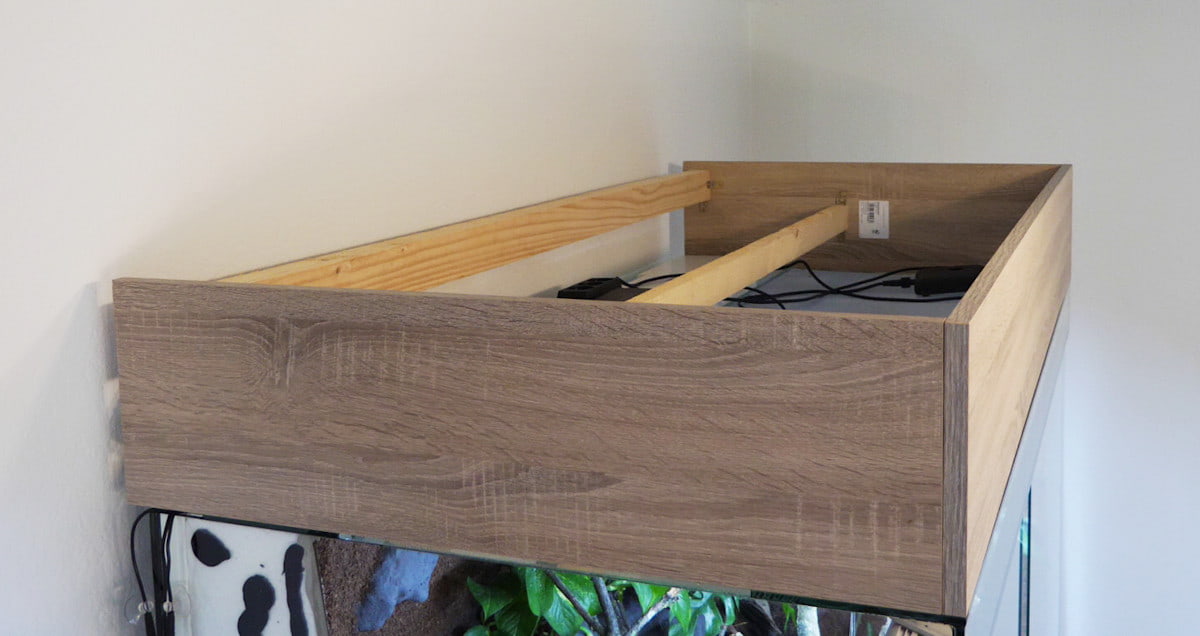
I’ll show you exactly how I built the light box in the following video:
Once the light box was finished, I could finally get down to setting up the technology! I started by installing the lamps.
Light + heat + UV radiation
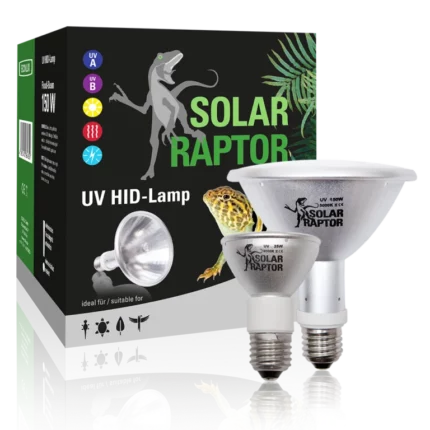
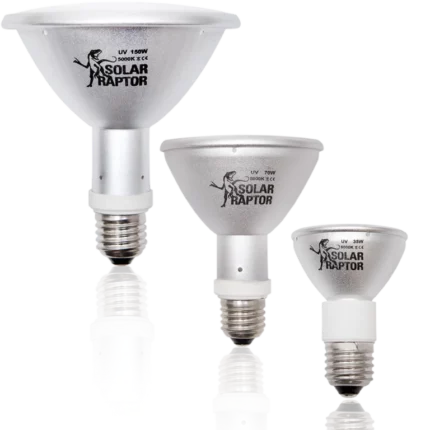
SOLAR RAPTOR® UV HID-Lamp
- UV lamps for desert and rainforest terrariums
- Wide UVA- and UVB-spectrum
- All-in-one solution: light, UV and heat
- Full-day lighting
- Electronic ballast (ECG) required for the respective wattage
- Perfect operation with SOLAR RAPTOR® ECGs and ClampLamps
incl. VAT
plus shipping
When it comes to lighting, it is important to realise that our animals and plants do not ‘just need light’. For their well-being and long-term health, they also need warmth and a defined proportion of UV radiation!
In consultation with the ECONLUX consultant, we received two complete sets of 35 W HID lamps and an additional 50 W HID lamp as a complete set. These HID lamps emit heat and produce a very sun-like light spectrum. These lamps also emit defined UV-A and UV-B radiation, which is very good for both the plants and the animals!
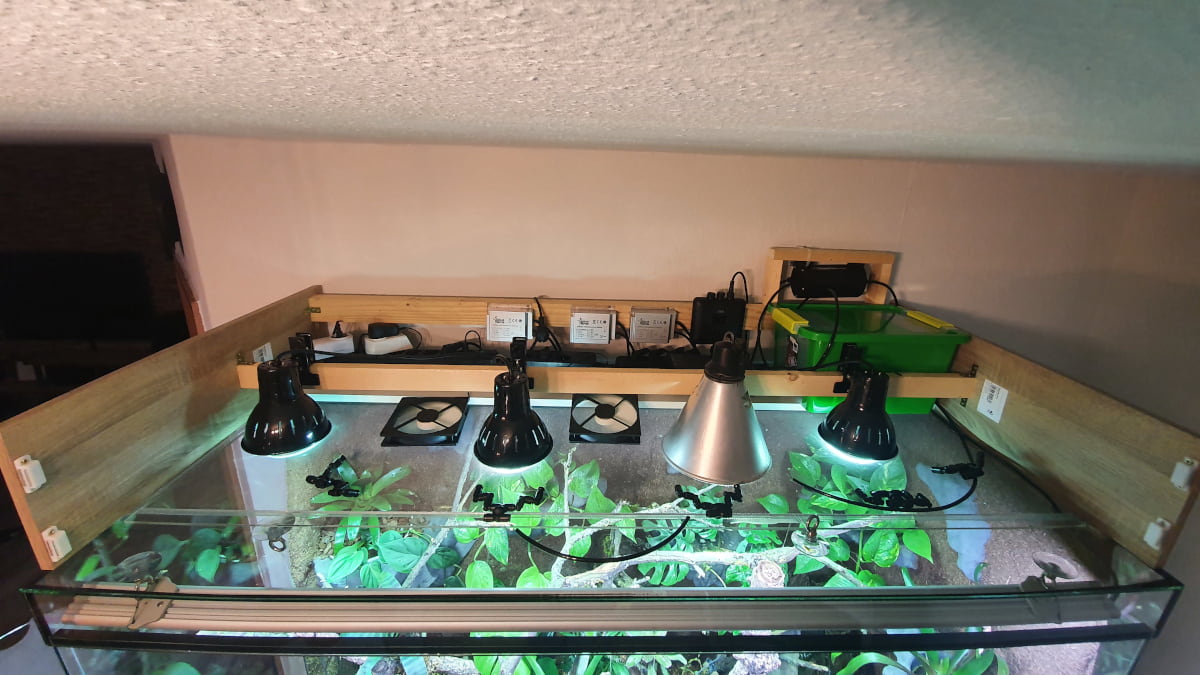
We mounted the three HID lamps in the centre above the gauze cover. We used the practical clamp mount of the Econlux ClampLamp operating unit for this. This makes it super easy to attach the lamps, as all you need to do is clamp them to the board built into the light box using the integrated clamp. We have positioned the heat lamps so that they illuminate the centre area of the paludarium.
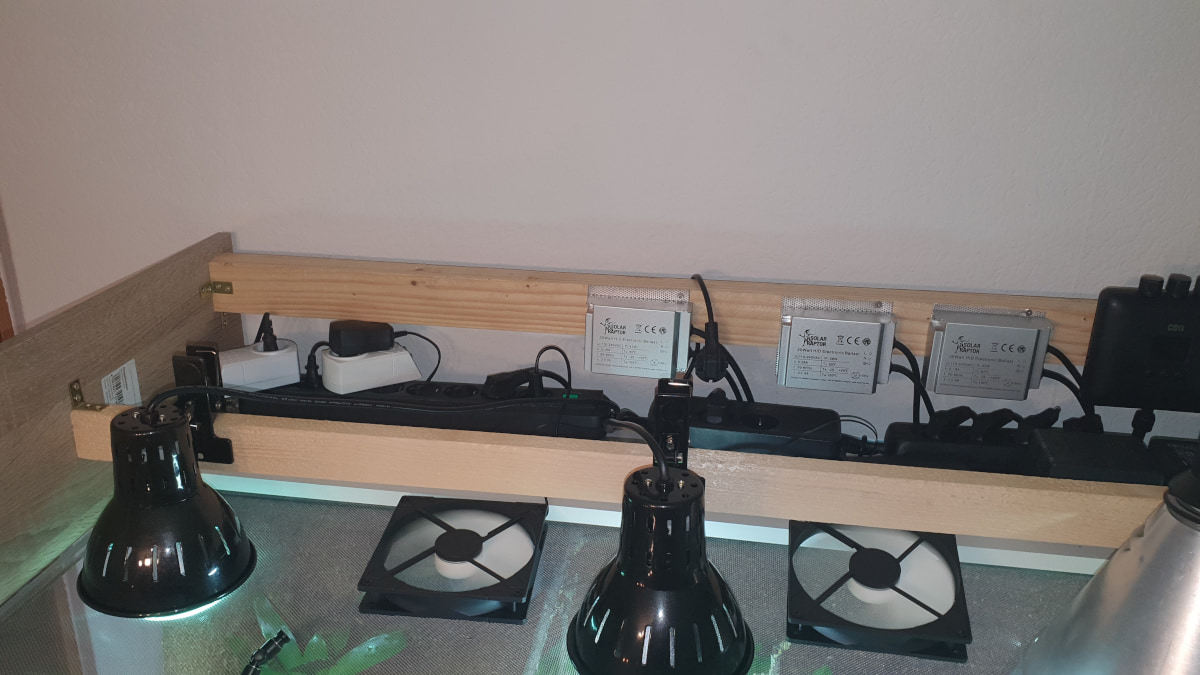
I simply screwed the ballasts into the back of the light box to keep everything clear and tidy.
Climate control with the CON-TH
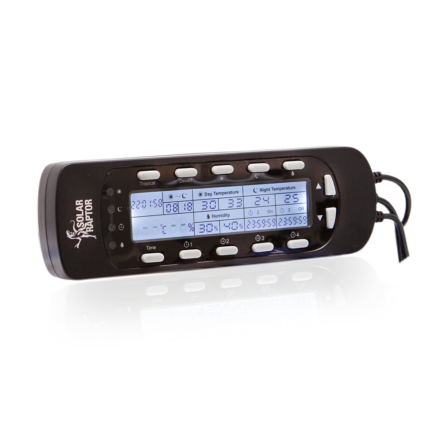
SOLAR RAPTOR® Timer Controller
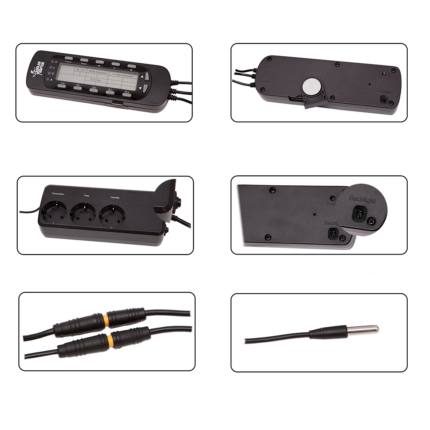
- Switchable socket strip
- CON-T: Temperature/time control
- CON-TH: Temperature/humidity/time control
- Quick setting desert/tropical mode
incl. VAT
plus shipping
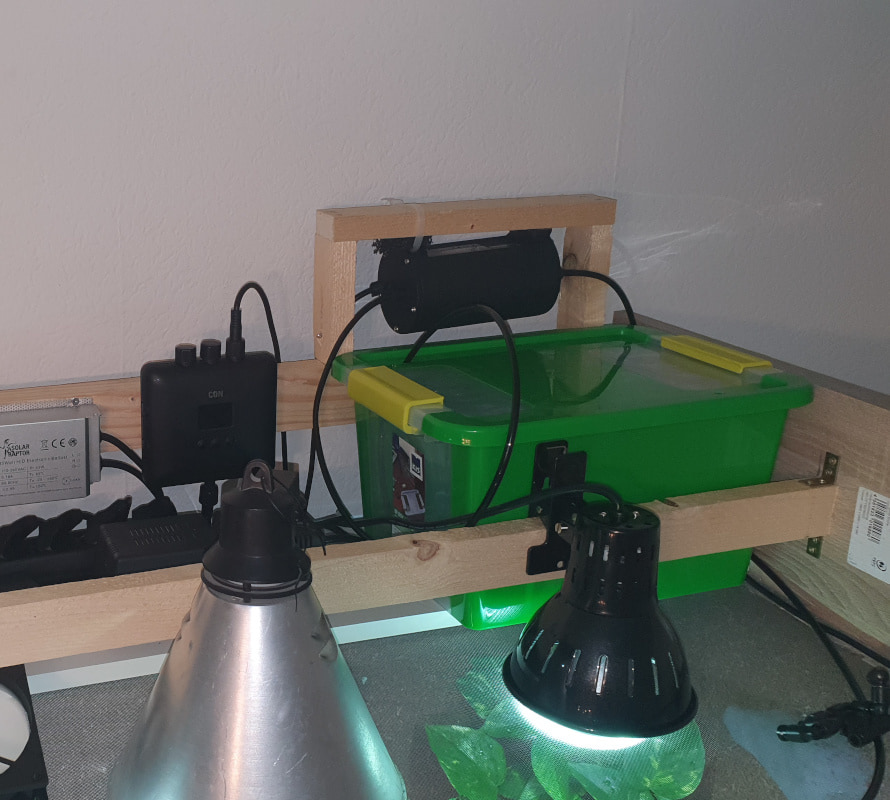
To ensure that the HID lamps (=heat) and a sprinkler system (=humidity) — which we will come to a little later — actually become ‘climate’, we control both together via the SolarRaptor Timer Controller TH.
With this control unit, several times can be defined at which the connected devices are switched on or off. Above all, however, both the heat lamps and the sprinkler system can be controlled via the actual values in the terrarium:
This is because the CON-TH uses sensors to measure the humidity and the actual temperature and then switches the heat lamps and the sprinkler system on or off depending on the setting so that the perfect climate is automatically maintained in the terrarium/paludarium at all times.
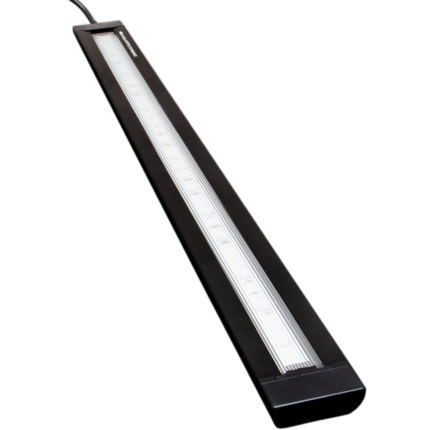
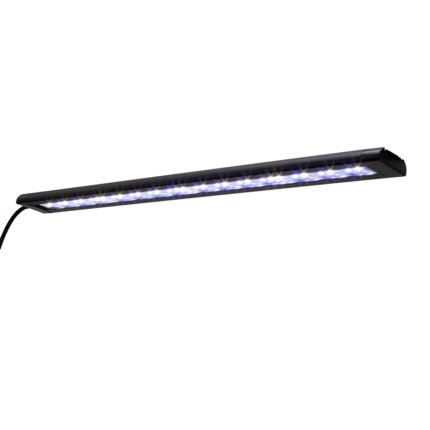
SOLAR RAPTOR® SunStrip III 35 REPTILE black edition
- UV-A LED lighting for terrariums
- Brilliant light for excellent color rendering
- Versatile mounting options
- IMPORTANT: Additional power supply required for operation!
incl. VAT
plus shipping
More & coloured light
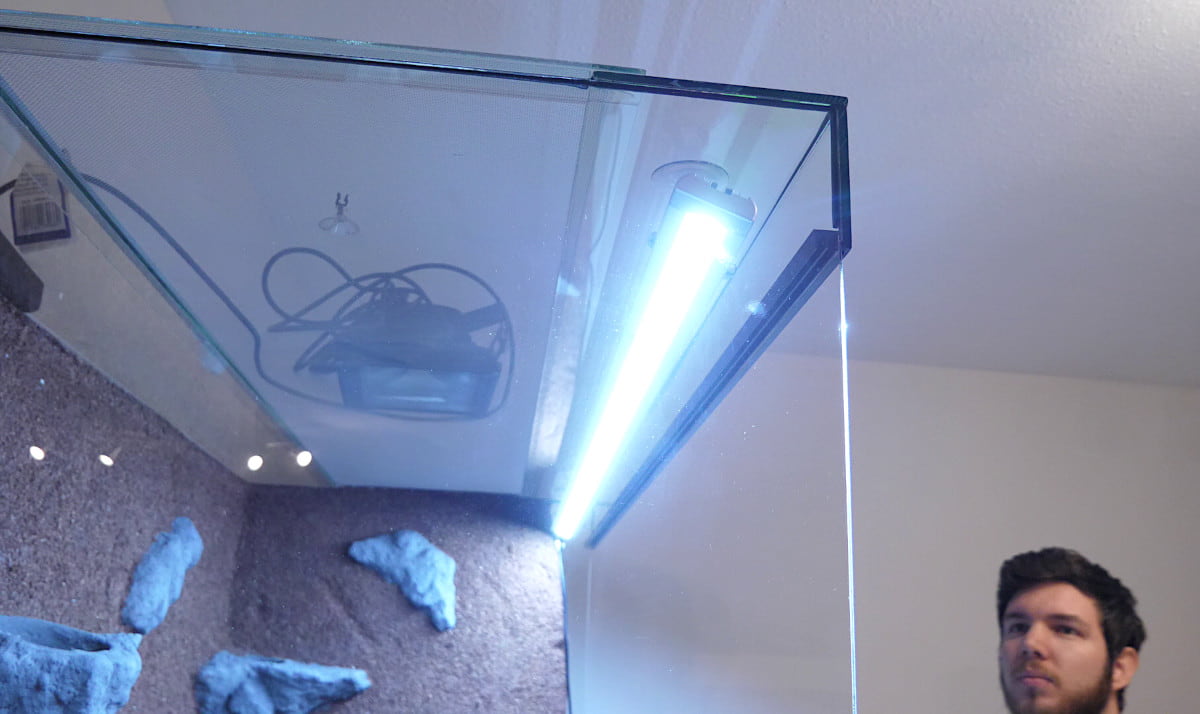
In order to illuminate the lower front area in particular, including the water section, we have also installed a SolarRaptor SunStrip 35 Reptile 50 Watt with a length of 149 cm.
This LED lamp ‘speaks RGB’, so you can have it shine in practically any colour.
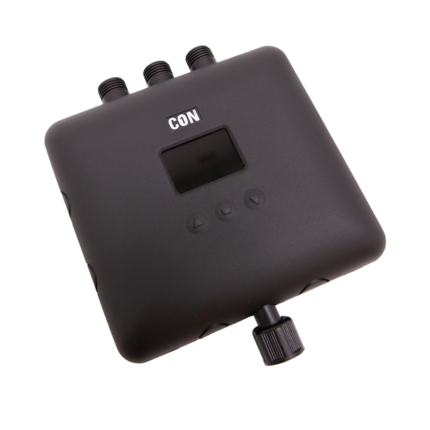
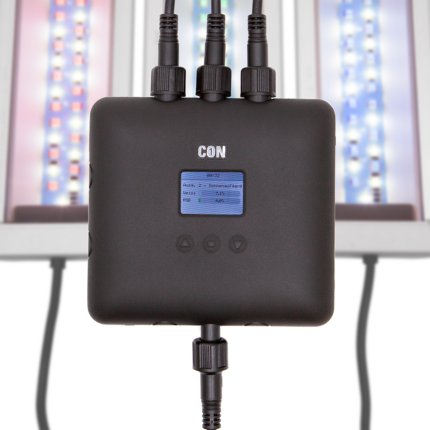
There is also a special feature here with regard to the control system, as the SunStrip can be programmed using the SolarRaptor CON 1.
The CON 1 not only allows the LED lighting to be simply switched on/off, but the individual RGB channels can also be programmed individually.
You can set up your own colour scenarios and create natural sunrises and sunsets, for example – and that’s exactly what we want to do for our paludarium in the end.
There are many different mounting options for attaching the LED strip. We opted for the SunStrip FlatHolder and combined it with extra strong suction cups.
SOLAR STINGER® / SOLAR RAPTOR® CON1
- Control unit
- For all SolarStinger & SolarRaptor products with DRV power supply operation
- For creating sunrise/sunset and other scenarios
- 3 individually controllable outputs for connecting multiple products
By attaching the SunStrip light to the suction cups with wire, the lamp was very easy to attach to the glass lid of the terrarium.
And thanks to the wire, we were able to adjust the beam angle to suit our paludarium perfectly.
Further components for terrarium technology
In addition to the SolarRaptor products from Econlux listed above, we have also installed other technology:
The ‘Lucky Reptile Super Nano’ sprinkler system with 5 double nozzles is particularly worth mentioning here. It will provide the necessary humidity in the paludarium.
We have also installed two PC fans to increase the so-called ‘chimney effect’ several times a day and prevent waterlogging.
And here is the video in which I show you the whole assembly:
The following pictures also show some details of the complete terrarium technology installation:
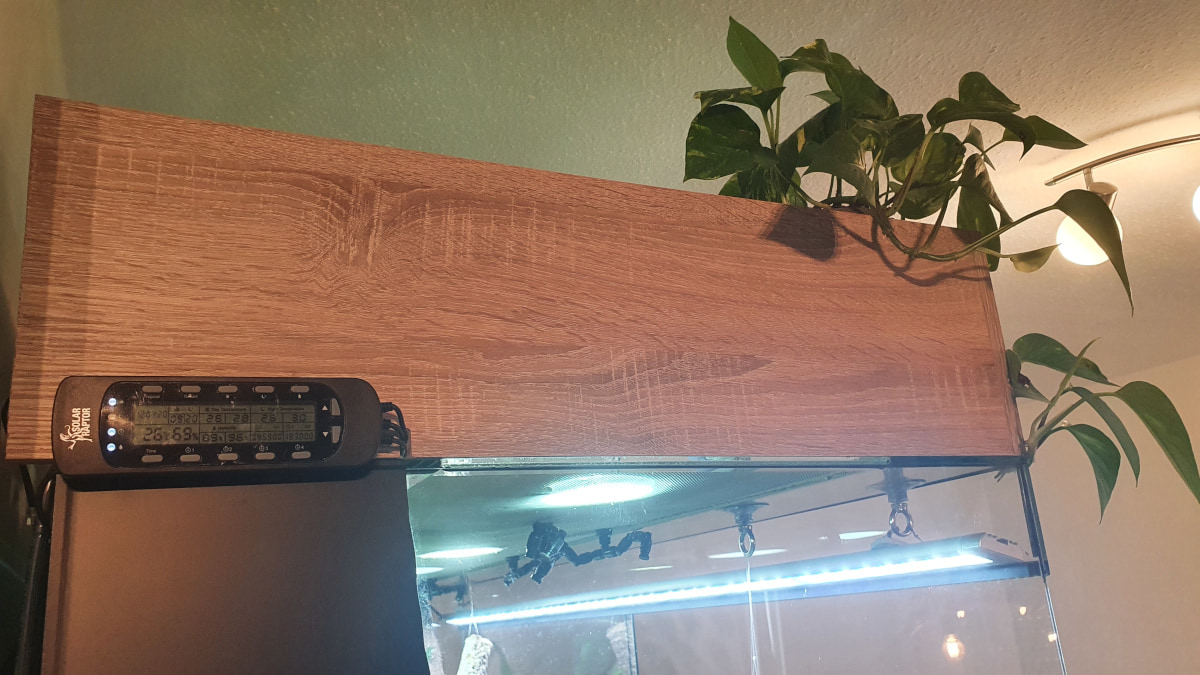
The technology in the aquarium
In addition to the technology for the terrarium part of the paludarium, there is of course also technology in the aquarium that I don’t want to withhold from you.
Because I didn’t want any holes to the outside and preferred to have a closed system instead, I separated off an area in the aquarium. I built an internal filter in here myself. I’ll show you how I did it below:
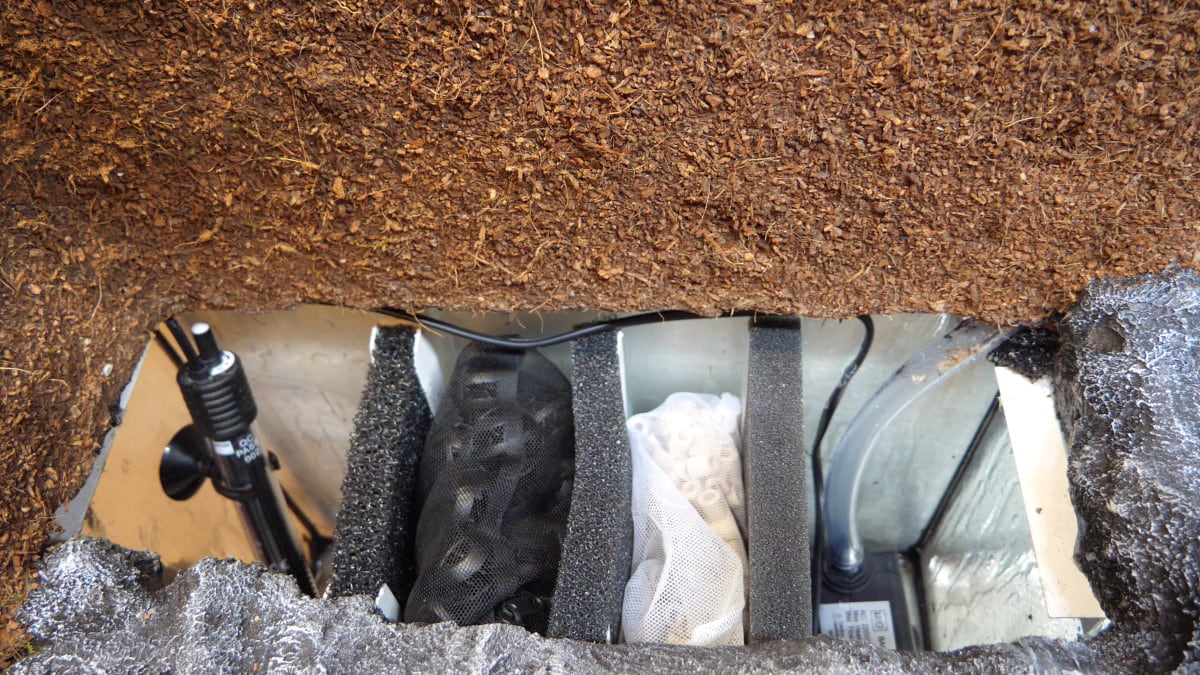
As you can see in this picture, the filter I built has several compartments, which are separated by filter mats of different sizes. The water from the aquarium flows into the first compartment (seen from left to right). This is where the 100 watt Juwel heating rod is located, which heats the aquarium to 25-27 degrees.
Bio filter balls, which form a breeding ground for aquarium bacteria, are located behind the 1st coarse filter mat in the direction of water flow. This is followed by the 2nd filter mat, which is one level finer. The compartment behind this contains ceramic tubes. Suspended matter is deposited on these during the sinking process and they also provide colonisation areas for bacteria. Finally, the 4th compartment contains the heart of the entire aquarium: our JBL ProFlow U2000 submersible pump, which transports the heated and filtered water from there back towards the waterfall/outlet.
Now that all the technical equipment is in place, the next part can focus on the interior design. Now it’s time to get on with the planting so that the jungle can be created…

