Arrival of the technology
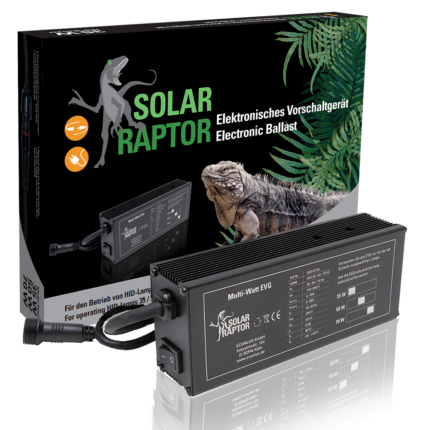
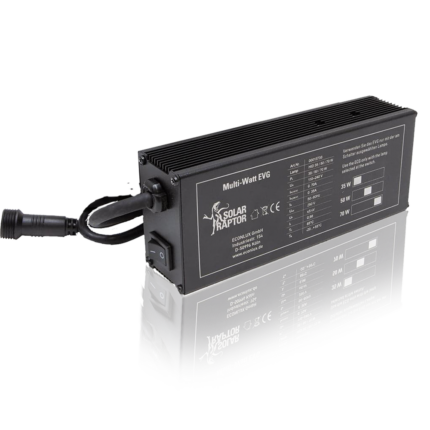
The technology for our rainforest terrarium arrived at practically the same time as the glass body. We had ordered this from ECONLUX.
We had discussed this in detail with the ECONLUX consultant in advance and, with his advice, put together the optimum technical equipment for our paludarium.
This article is part of a series. Here is an overview of all episodes published so far:
☛ A rainforest in the living room: building a paludarium
☛ Building a paludarium, part 2: The base structure
☛ Building a paludarium, part 3: Equipment and interior design
☛ Building a paludarium, part 4: The technology for the rainforest
☛ Building a paludarium, part 5: Creating a jungle
☛ One Year Later: the Paludarium With Casquehead Iguanas
Unpacking technical equipment is always like Christmas and Easter rolled into one. That’s why we’ve made an unboxing video in which we also present the individual components of our technical set-up. After all, it takes a lot of equipment to create a rainforest scenario that is as true to life as possible. The joy of unpacking all the equipment was correspondingly great:
Here is an overview of the technology components I ordered and used from the unboxing video, including the links to the store
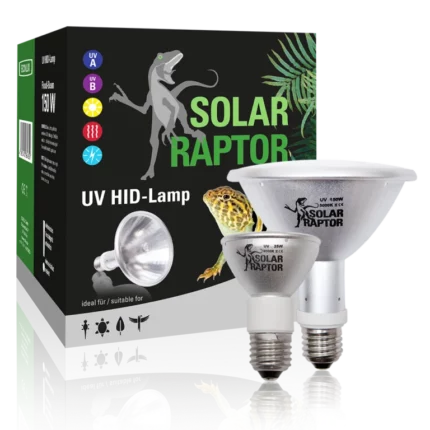
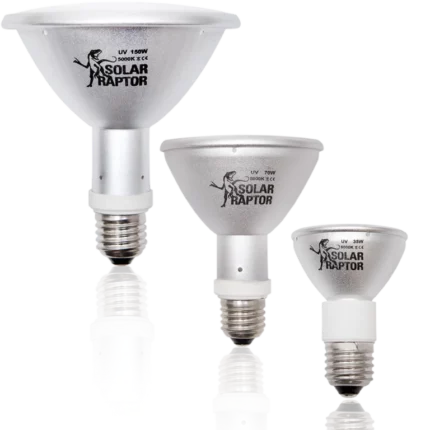
SOLAR RAPTOR® UV HID-Lamp
- UV lamps for desert and rainforest terrariums
- Wide UVA- and UVB-spectrum
- All-in-one solution: light, UV and heat
- Full-day lighting
- Electronic ballast (ECG) required for the respective wattage
- Perfect operation with SOLAR RAPTOR® ECGs and ClampLamps
incl. VAT
plus shipping
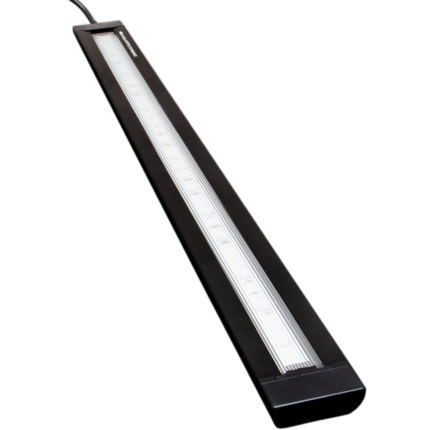
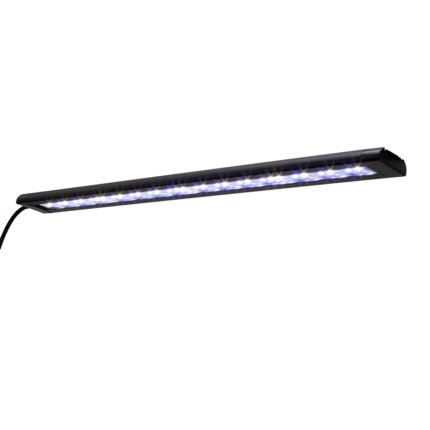
SOLAR RAPTOR® SunStrip III 35 REPTILE black edition
- UV-A LED lighting for terrariums
- Brilliant light for excellent color rendering
- Versatile mounting options
- IMPORTANT: Additional power supply required for operation!
incl. VAT
plus shipping
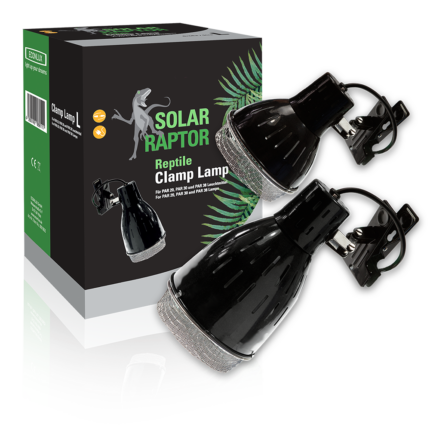
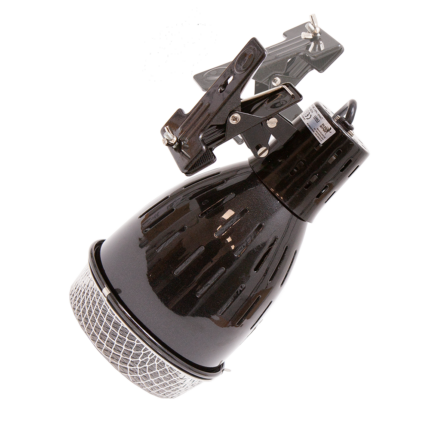
SOLAR RAPTOR® ClampLamp
- Operating unit for terrarium heaters
- Versatile mounting options
- Including protective grille
- With connecting plugs for easy combination with electronic ballasts
incl. VAT
plus shipping
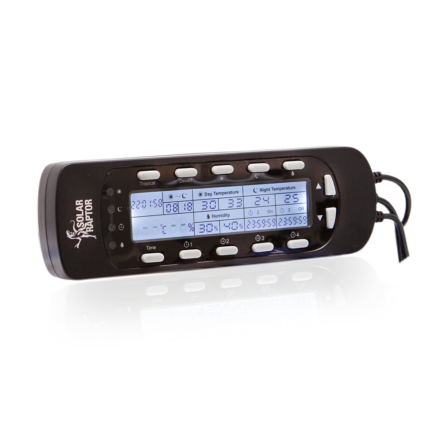
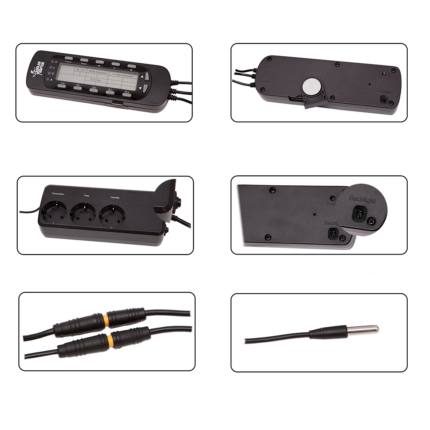
SOLAR RAPTOR® Timer Controller
- Switchable socket strip
- CON-T: Temperature/time control
- CON-TH: Temperature/humidity/time control
- Quick setting desert/tropical mode
incl. VAT
plus shipping
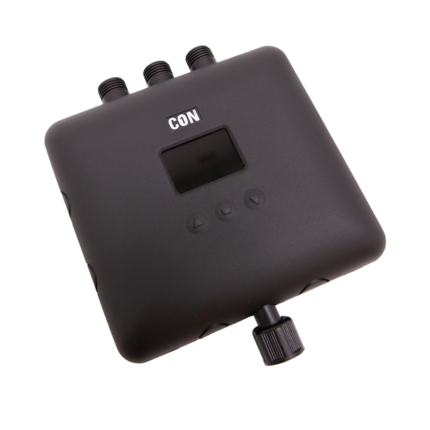
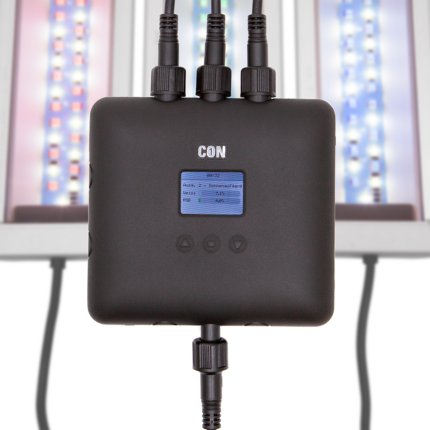
SOLAR STINGER® / SOLAR RAPTOR® CON1
- Control unit
- For all SolarStinger & SolarRaptor products with DRV power supply operation
- For creating sunrise/sunset and other scenarios
- 3 individually controllable outputs for connecting multiple products
The design of the rear wall
Once we were happy with the technology, we got down to work on the interior of the paludarium. The first task was to design the walls optimally for the planned planting and the animals. This was the start of the “real work” for us!
But first a note: There are of course many methods for building the back wall for a terrarium or paludarium. I will describe my method below. I have created a separate video for each individual construction stage. So you can see and understand exactly how I designed the interior and implemented the construction. You can find all the individual videos embedded directly in the description below. If you want to save all the videos as a playlist, you can find them here: https://www.youtube.com/playlist?list=PL2U4j5WAaByRcbjC-UaldJ-ADLVb3Vp11
Step 1: Styrofoam base frame
My first step when designing the interior of a terrarium is to build a basic framework for the back and side walls out of polystyrene.
I use polystyrene plates of different thicknesses, which I glue into the empty glass body with aquarium silicone. I choose the respective thickness and the positions so that it reflects the rough structure as I imagine it.
After attaching the panels to the back wall, the next step was to add the waterfall. I used 20 cm thick polystyrene blocks for this. Important: The water pipes from the pump have to be incorporated now so that they are “invisible” later on. For this reason, you should already have a very clear idea of how the waterfall should look and function in the end at this stage of modeling. And of course you need to be careful when cutting it to size…
Once the waterfall had been pre-modeled to this extent, the upper land section was designed. To do this, we built “rocks” out of polystyrene, into which flower pots were also incorporated. This makes it very easy to insert plants here later. The following picture clearly shows this expansion step:
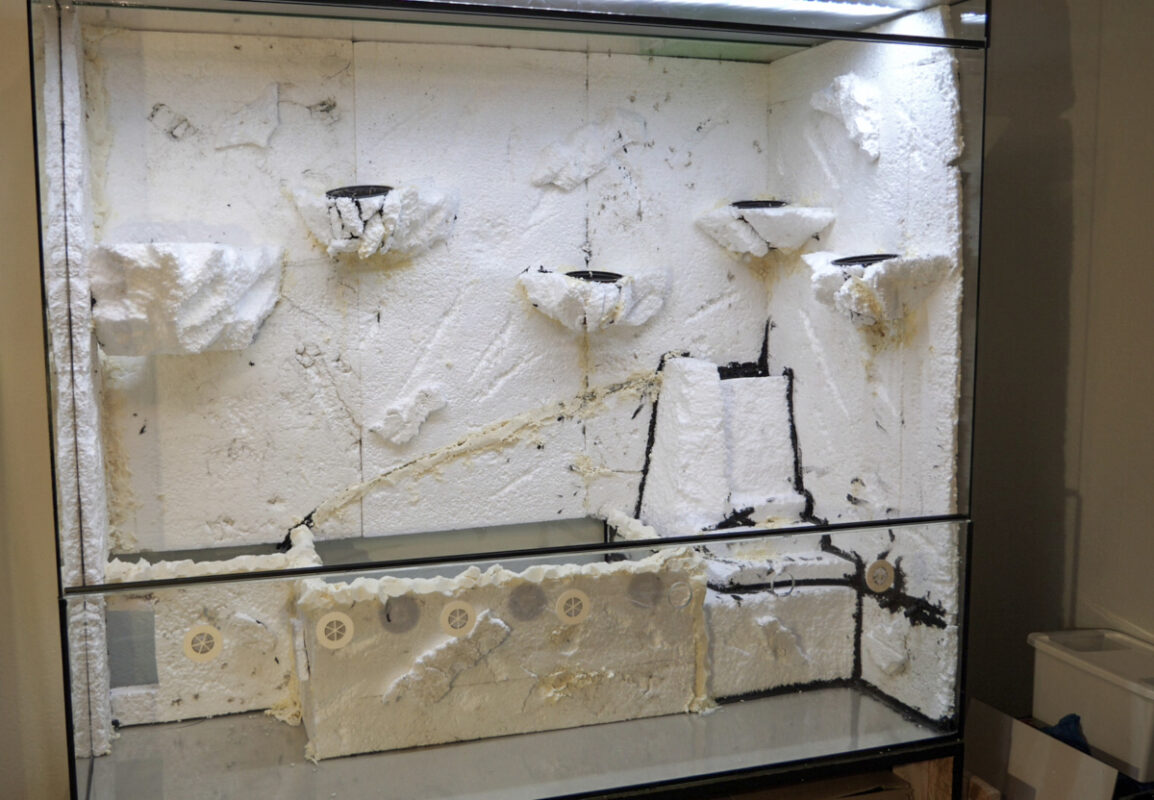
To finish off our polystyrene extension of the base frame, we slightly melted the polystyrene with a hot air gun to work more structure into the surfaces.

Attention:
Toxic vapors are produced when the polystyrene is melted! This procedure is therefore only possible if appropriate protective equipment is available — and if there is no risk to third parties from any escaping vapors! It is therefore essential to ensure adequate ventilation.
You can follow all the steps in the basic polystyrene construction process in this video:
Step 2: Detailed finishing with Flex tile adhesive
In the next step, we applied Flex tile adhesive to the polystyrene to laminate the polystyrene base frame, to create a solid surface and to make the transitions between the individual panels seamless and flowing.
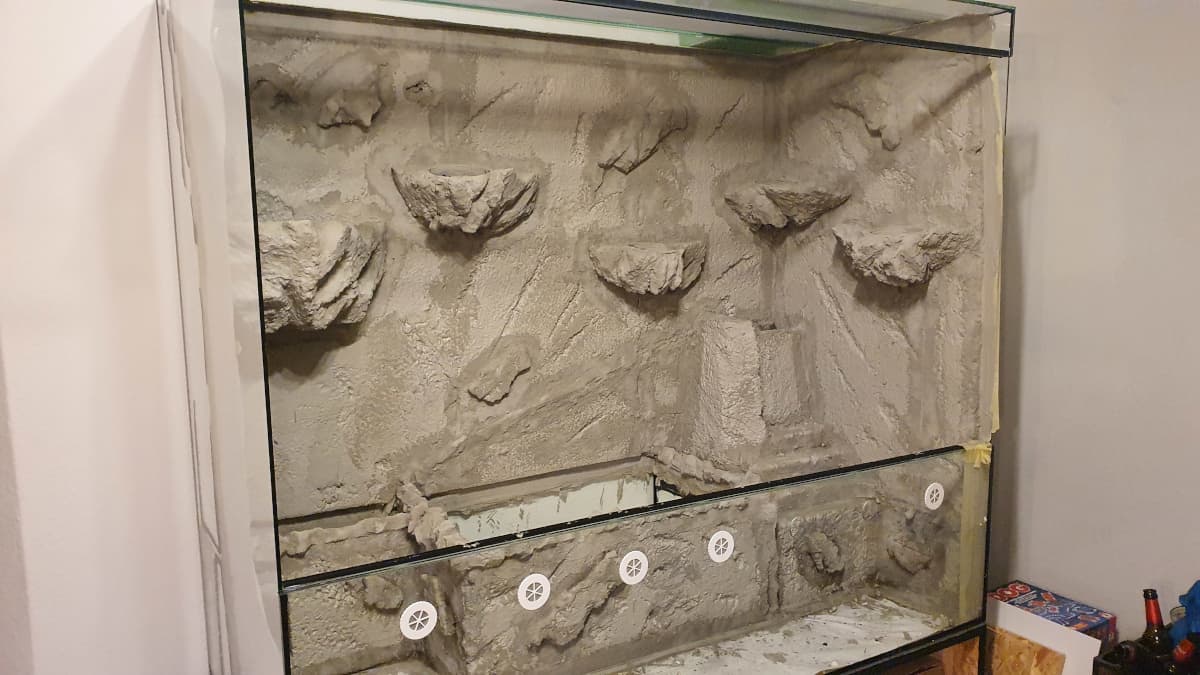
We applied a total of three layers of tile adhesive to the polystyrene, adding the coloring in the third layer. To do this, we mixed color pigments into the tile adhesive for the third and final layer. This made the designed “rocks” darker overall and saved us the need for further treatment with paint or similar. We didn’t need to color the rest of the back wall, as it would no longer be visible after the final design step anyway.
Step 4: Sealing the area in contact with water
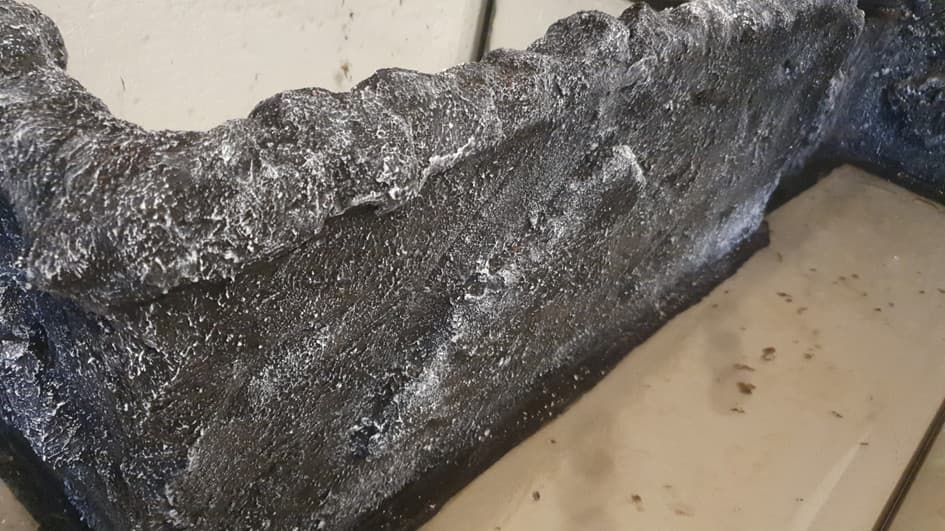
In areas with running or standing water, however, tile adhesive alone is not enough. Here we have to seal all parts against moisture!
We use special E45TM epoxy resin for this. The components of this epoxy resin are formulated in such a way that it is completely harmless to health once it has completely dried out. We have applied this epoxy resin to the tile adhesive in all areas where water will later stand or flow.
Step 4: Final flocking of the walls
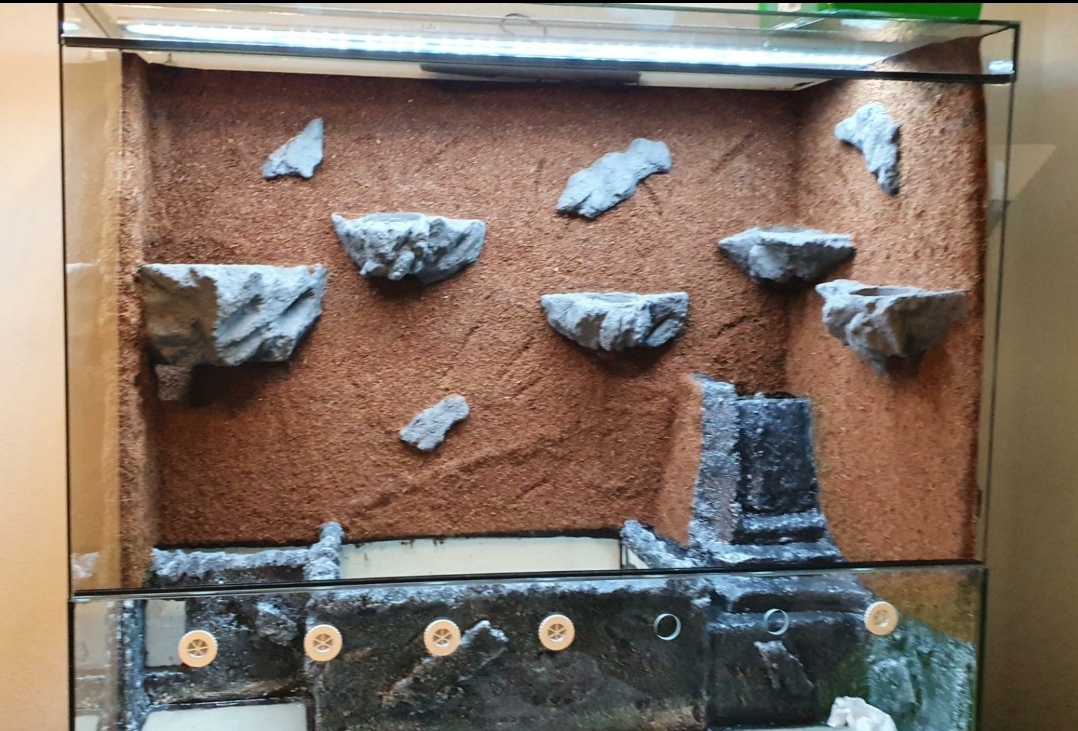
Once everything was dry, we turned our attention to the design of the back wall. After all, we wanted a natural back wall that could also store water and provide support for the climbing plants. To achieve this, we covered the rest of the back wall with coco humus.
Coco humus is available in pressed form as bricks. These bricks are then first soaked in warm water. Once the humus has swollen, it is crushed and allowed to dry again. As there is still a lot of dust and small particles in the humus, we sieve these out. This is how we finally obtain the required coarse coconut pieces.
In the next and final step, we can now attach these coco foam flakes to the desired areas of the back wall using a special adhesive. There are several different options for the adhesive:
- On the one hand, the epoxy resin already used in the previous step can be used for this. However, this is very thin, which makes the design difficult.
- On the other hand, you can also use 2-component PU adhesive.
- We opted for the third method and used Elastopur 2.0. The advantage of this adhesive is that it remains slightly elastic even after hardening so that the coconut pieces stick better, even if they swell due to moisture:
Well — and after this last step of flocking, the back panel is actually already finished.
Two more hints
- Of course, it is important to protect the remaining glass during each removal step by carefully masking or covering it. This saves you the hassle of cleaning and also prevents accidental scratches in the glass, which would look unsightly in the end.
- And of course you should always wear personal protective equipment appropriate to the materials being processed!!!
The work was worth it, this is what our paludarium now looks like:
With that, we went home for a well-earned rest. In the next part of the series, I’ll finally introduce you to my technical setup and show you how we install it…

