After we had planned our new aqua-terrarium in detail and ordered the glass body accordingly, the first thing we had to do was wait. But of course we didn’t just sit around doing nothing!
Instead, we tackled the “base cabinet project”: Because in the meantime, we had also planned a heavy-duty base cabinet that was ideal for our needs. Not only should it offer sufficient storage space and bring the paludarium to an optimum height, but it also had to be “strongly built” enough to support the weight of our rainforest terrarium, which was ultimately quite considerable. In addition, the base cabinet should not simply be stationary, but should be transportable using castors.
This article is part of a series. Here is an overview of all episodes published so far:
☛ A rainforest in the living room: building a paludarium
☛ Building a paludarium, part 2: The base structure
☛ Building a paludarium, part 3: Equipment and interior design
☛ Building a paludarium, part 4: The technology for the rainforest
☛ Building a paludarium, part 5: Creating a jungle
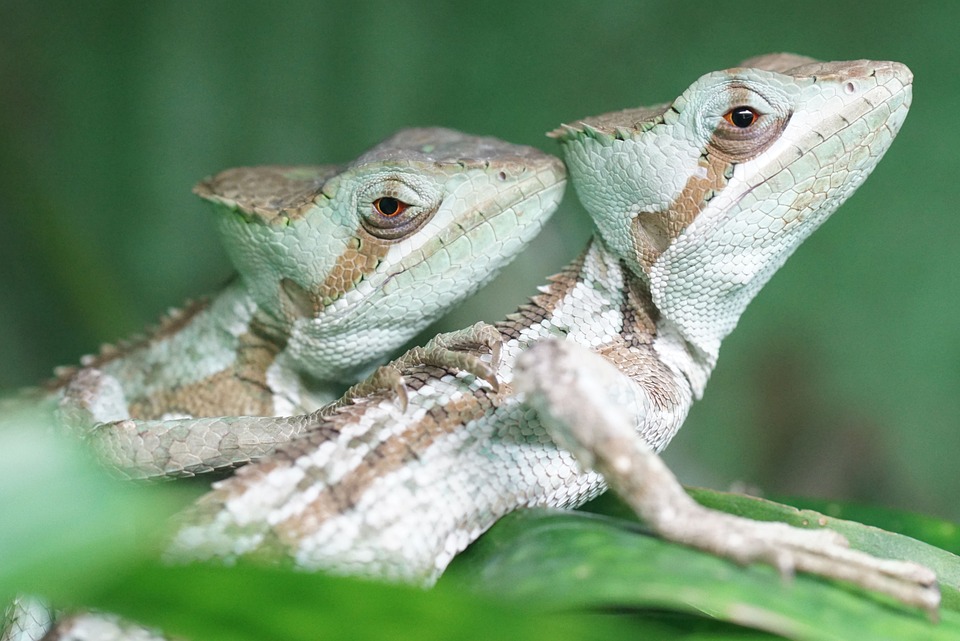
☛ One Year Later: the Paludarium With Casquehead Iguanas
For this terrarium base, we first drew up a precise cutting list and then had all the boards cut to size at the DIY store. Once prepared, all we had to do was screw the individual parts together – similar to the method used by the well-known Swedish furniture store…
How the construction of the heavy-duty base cabinet proceeded
As soon as our base cabinet was finished, the time had finally come: we were able to pick up the finished tank from Glaskörper Hein in a van!
Individual glass body for the rainforest aquarium
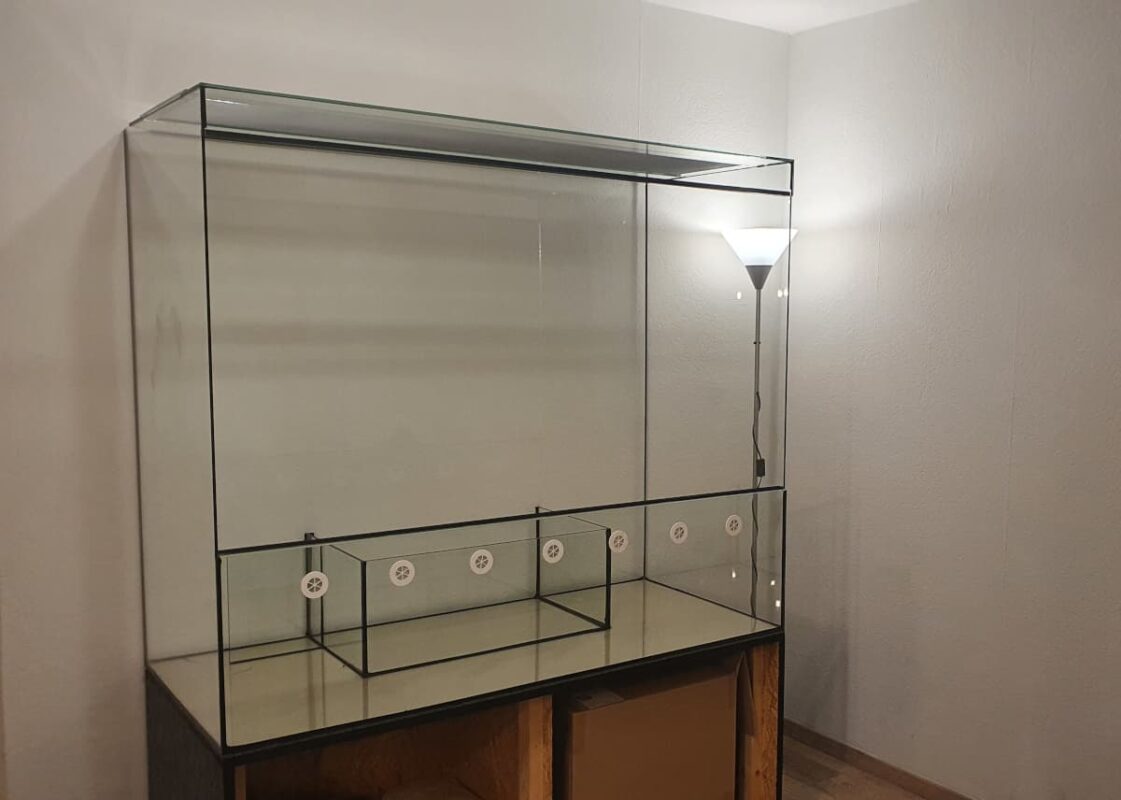
When we saw our new glass pool live for the first time, we were really excited. We had only seen it before from the plans and our 3D drawing. Now we were surprised at how big it had become in reality!

Nevertheless, our plan had worked out, because despite the size, we were able to carry our terrarium in pairs. That was very important to us!
In the following video, I will now show you for the first time what our glass body looks like and also explain what we thought about in terms of the individual special features. After all, this is not a standard terrarium, but one that was built specifically to our wishes and needs!
The key data of our glass body at a glance:
- glass body: 150x70x130cm
- Made from 6 or 8 mm glass
- Large gauze ventilation at the top
- Straight windscreens with round ventilation holes at the front
- A glass box for the land part is glued inside
- The panes are designed so that water can stand 26 cm high at the front
And then the technology arrives…
The technology arrived at practically the same time as the glass body. We obtained this from ECONLUX GmbH.
We had discussed this in detail in advance with the ECONLUX team’s technical consultant in order to find the optimum technical equipment for our Paludarim. Unpacking technical equipment is always like Christmas and Easter rolled into one. That’s why we made an unboxing video in which we also present the individual components of our technical set-up. You’ll be able to see this in the next episode, in which we’ll also get started on the interior of the Paludarium. You can look forward to it!

